I remember one particularly hectic Tuesday night when nothing seemed to be going right; the kids were extra fussy, work had been crazy, and the fridge was practically empty, but amidst the chaos, I managed to whip up a batch of Chicken Enchiladas that saved the day and brought smiles to everyone’s faces. It was a reminder that even on the busiest of evenings, a comforting and flavorful meal can turn things around. Now, I’m going to share my go-to recipe with you, so you can create the most amazing enchiladas with ease—I promise, you’ll nail it!
Let’s Make Some Incredible Chicken Enchiladas!
Alright, friend, let’s dive into the wonderful world of Chicken Enchiladas! This isn’t just another recipe; it’s a journey into a dish that’s customizable, comforting, and downright delicious. I’m going to walk you through every step, from prepping the chicken to layering those beautiful enchiladas in the pan. Get ready, because your taste buds are in for a treat!
Why You’ll Absolutely Love This Recipe
Before we get started, let’s talk about why these Chicken Enchiladas are about to become a staple in your kitchen:
- Simple Ingredients: You probably already have most of these ingredients in your pantry and fridge.
- Customizable: Want to add black beans? Go for it! More cheese? Absolutely! This recipe is your canvas.
- Make-Ahead Friendly: Perfect for busy weeknights. Assemble the enchiladas ahead of time and bake when you’re ready.
- Crowd-Pleaser: Everyone loves enchiladas! They’re a surefire hit at potlucks, family dinners, or even a casual get-together.
What You’ll Need: The Ingredients

Okay, let’s gather our ingredients. Don’t worry, nothing too fancy here!
For the Chicken Filling:
- Chicken: 2-3 cups cooked, shredded chicken. You can use rotisserie chicken (my favorite shortcut!), poached chicken, or even leftover grilled chicken.
- Onion: 1 medium onion, finely chopped.
- Garlic: 2-3 cloves, minced.
- Canned Tomatoes: 1 (10-ounce) can of diced tomatoes and green chilies (like Rotel), undrained.
- Chili Powder: 1-2 tablespoons, depending on your spice preference.
- Cumin: 1 teaspoon.
- Oregano: 1/2 teaspoon.
- Salt and Pepper: To taste.
- Optional Add-Ins: 1/2 cup corn, 1/2 cup black beans, 1/4 cup chopped cilantro.
For the Enchiladas:
- Corn Tortillas: About 12-15, depending on the size. You can also use flour tortillas, but I find corn tortillas give a more authentic flavor.
- Enchilada Sauce: 2 (10-ounce) cans of your favorite enchilada sauce (red or green, your choice!).
- Cheese: 2 cups shredded cheese, such as cheddar, Monterey Jack, or a Mexican blend.
- Optional Toppings: Sour cream, guacamole, chopped green onions, cilantro, olives.
Step-by-Step: Making the Magic Happen
Alright, let’s get cooking! I promise, even if you’re a beginner, this recipe is totally doable. Just follow along, and we’ll have those Chicken Enchiladas ready in no time.
Step 1: Prepare the Chicken Filling
This is where the flavor party starts! We’re going to build a delicious filling that will make your enchiladas sing.
- Sauté the Aromatics: In a large skillet over medium heat, sauté the chopped onion until softened, about 5-7 minutes. Add the minced garlic and cook for another minute until fragrant. Be careful not to burn the garlic!
- Add the Tomatoes and Spices: Stir in the canned tomatoes and green chilies (undrained), chili powder, cumin, oregano, salt, and pepper. Bring to a simmer and cook for 5-10 minutes, allowing the flavors to meld together beautifully.
- Incorporate the Chicken: Add the shredded chicken and any optional add-ins (corn, black beans, cilantro) to the skillet. Stir well to combine and cook for another 5 minutes, ensuring the chicken is heated through and coated in the sauce. Taste and adjust seasonings as needed. This is your chance to make it perfect for *your* palate.
Step 2: Assemble the Enchiladas
Now for the fun part: rolling those enchiladas! This can be a little tricky at first, but with a few tips, you’ll be a pro in no time.
- Warm the Tortillas: This is crucial! Warm the tortillas to make them more pliable and prevent them from cracking when you roll them. You can warm them in a microwave (wrapped in a damp paper towel for about 30 seconds), on a dry skillet over medium heat (about 15-20 seconds per side), or even in the oven (wrapped in foil at 350°F for about 10 minutes).
- Sauce the Pan: Spread a thin layer of enchilada sauce on the bottom of a 9×13 inch baking dish. This will prevent the enchiladas from sticking and add extra flavor.
- Fill and Roll: Dip each tortilla in the enchilada sauce (this helps soften them and adds flavor). Place a generous spoonful of the chicken filling down the center of the tortilla. Roll the tortilla tightly and place it seam-side down in the prepared baking dish. Repeat with the remaining tortillas and filling.
- Top with Sauce and Cheese: Pour the remaining enchilada sauce evenly over the enchiladas. Sprinkle generously with shredded cheese.
Step 3: Bake and Enjoy!
Almost there! Time to bake these beauties to golden, cheesy perfection.
- Bake: Preheat your oven to 375°F (190°C). Bake the enchiladas for 20-25 minutes, or until the cheese is melted and bubbly and the sauce is heated through.
- Rest: Let the enchiladas rest for a few minutes before serving. This will allow them to set slightly and make them easier to serve.
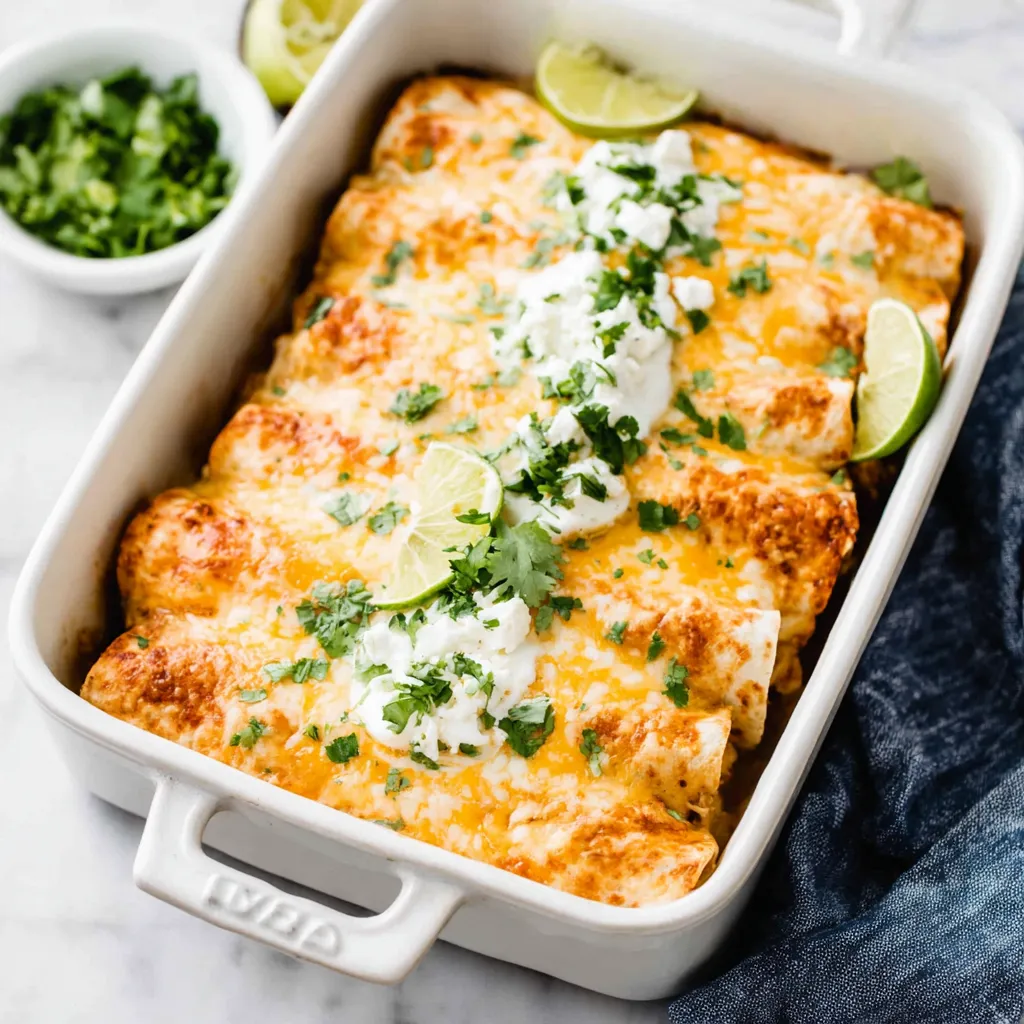
- Garnish and Serve: Top with your favorite toppings, such as sour cream, guacamole, chopped green onions, cilantro, and olives. Serve immediately and enjoy!
Tips and Tricks for Enchilada Success
Okay, friend, let’s talk about some tips and tricks to ensure your Chicken Enchiladas are absolutely amazing:
- Don’t Overfill: Resist the urge to overfill the tortillas. Too much filling will make them difficult to roll and they might burst in the oven.
- Warm the Tortillas Well: I can’t stress this enough! Warm tortillas are key to preventing cracking.
- Use Quality Ingredients: The better the ingredients, the better the enchiladas. Choose a good quality enchilada sauce and cheese for the best flavor.
- Make it Spicy (or Not): Adjust the amount of chili powder to your liking. If you want a spicier kick, add a pinch of cayenne pepper or some chopped jalapeños to the filling.
- Get Creative with Fillings: Feel free to add other veggies to the filling, such as bell peppers, zucchini, or mushrooms.
- Make Ahead: Assemble the enchiladas ahead of time and store them in the refrigerator for up to 24 hours. Add a few extra minutes to the baking time if baking from cold.
- Freezing: Enchiladas freeze beautifully! Assemble them, but don’t bake them. Wrap them tightly in plastic wrap and then in foil. Freeze for up to 3 months. Thaw overnight in the refrigerator before baking.
Variations to Spice Things Up
Want to put your own spin on these Chicken Enchiladas? Here are a few ideas:
- Green Chile Chicken Enchiladas: Use green enchilada sauce instead of red.
- Creamy Chicken Enchiladas: Add a can of cream of chicken soup to the filling for a creamier texture.
- Black Bean and Corn Enchiladas: Add extra black beans and corn to the filling and top with a dollop of sour cream and salsa.
- Chicken Enchilada Casserole: Layer the tortillas, filling, sauce, and cheese in a baking dish instead of rolling them. This is a great option if you’re short on time.
Serving Suggestions
What to serve alongside your delicious Chicken Enchiladas? Here are a few ideas:
- Mexican Rice: A classic side dish that complements the enchiladas perfectly.
- Refried Beans: Another classic that adds a hearty element to the meal.
- Guacamole and Chips: A must-have appetizer for any Mexican feast.
- Salad: A refreshing salad with a light vinaigrette to balance the richness of the enchiladas.
- White Chicken Chili: For a cozy and comforting meal, serve with a bowl of chili.
Other Recipes You Might Enjoy
If you’re a fan of this Chicken Enchiladas recipe, you might also enjoy these other delicious dishes:
- Chicken Casserole: A comforting and easy-to-make casserole perfect for a weeknight dinner.
- Chicken Spaghetti Casserole: A creamy and cheesy casserole that’s always a hit.
- Mexican Street Corn White Chicken Chili: A flavorful and unique twist on classic white chicken chili.
- Chicken Spaghetti Casserole: Another delicious version of chicken spaghetti casserole that’s sure to please.
- Chicken Enchilada Magic: An easy and convenient way to make enchiladas in the crockpot.
- Chicken Enchilada Heaven: Another fantastic crockpot enchilada recipe for a hands-off cooking experience.
Troubleshooting: Common Enchilada Problems and Solutions
Even the best cooks run into snags sometimes. Here are some common enchilada problems and how to fix them:
- Tortillas are cracking: Make sure you’re warming the tortillas properly. If they’re still cracking, try using flour tortillas instead of corn tortillas.
- Enchiladas are soggy: Don’t overfill the tortillas and make sure to drain any excess liquid from the chicken filling.
- Cheese isn’t melting: Make sure your oven is properly preheated and that the enchiladas are baking long enough. You can also try broiling them for a minute or two at the end of baking to get the cheese extra melty.
- Enchiladas are sticking to the pan: Make sure you’re greasing the baking dish or spreading a layer of enchilada sauce on the bottom.
Nutritional Information (Approximate)
Please note that the nutritional information is an estimate and can vary depending on the specific ingredients and portion sizes you use.
- Serving Size: 1 enchilada
- Calories: 350-450
- Protein: 25-35g
- Fat: 20-30g
- Carbohydrates: 25-35g
Final Thoughts
There you have it! My go-to recipe for Chicken Enchiladas that are guaranteed to impress. I hope you feel confident and excited to try this recipe in your own kitchen. Remember, cooking should be fun and experimental, so don’t be afraid to adjust the ingredients and seasonings to your liking. Now go forth and create some enchilada magic!
What kind of chicken can I use for the enchilada filling?
You can use rotisserie chicken, poached chicken, or even leftover grilled chicken for the filling.
Can I prepare the enchiladas in advance?
Yes, you can assemble the enchiladas ahead of time and store them in the refrigerator for up to 24 hours before baking. Add a few extra minutes to the baking time if baking from cold.
What are some tips to prevent the tortillas from cracking when rolling?
The most important tip is to warm the tortillas before rolling. You can warm them in the microwave, on a dry skillet, or in the oven. Also, avoid overfilling the tortillas.
Can I freeze these enchiladas?
Yes, enchiladas freeze beautifully. Assemble them, but don’t bake them. Wrap them tightly in plastic wrap and then in foil. Freeze for up to 3 months. Thaw overnight in the refrigerator before baking.
Easy Chicken Enchiladas
Ingredients
Equipment
Method
- Preheat oven to 375°F (190°C).
- In a large skillet over medium heat, sauté the chopped onion until softened (5-7 minutes). Add the minced garlic and cook for another minute until fragrant.
- Stir in the canned tomatoes and green chilies (undrained), chili powder, cumin, oregano, salt, and pepper. Bring to a simmer and cook for 5-10 minutes.
- Add the shredded chicken and any optional add-ins (corn, black beans, cilantro) to the skillet. Stir well to combine and cook for another 5 minutes, ensuring the chicken is heated through and coated in the sauce. Taste and adjust seasonings.
- Warm the tortillas. You can warm them in a microwave (wrapped in a damp paper towel for about 30 seconds), on a dry skillet over medium heat (about 15-20 seconds per side), or even in the oven (wrapped in foil at 350°F for about 10 minutes).
- Spread a thin layer of enchilada sauce on the bottom of a 9×13 inch baking dish.
- Dip each tortilla in the enchilada sauce.
- Place a generous spoonful of the chicken filling down the center of the tortilla. Roll the tortilla tightly and place it seam-side down in the prepared baking dish. Repeat with the remaining tortillas and filling.
- Pour the remaining enchilada sauce evenly over the enchiladas.
- Sprinkle generously with shredded cheese.
- Bake for 20-25 minutes, or until the cheese is melted and bubbly and the sauce is heated through.
- Let the enchiladas rest for a few minutes before serving.
- Top with your favorite toppings, such as sour cream, guacamole, chopped green onions, cilantro, and olives. Serve immediately.
