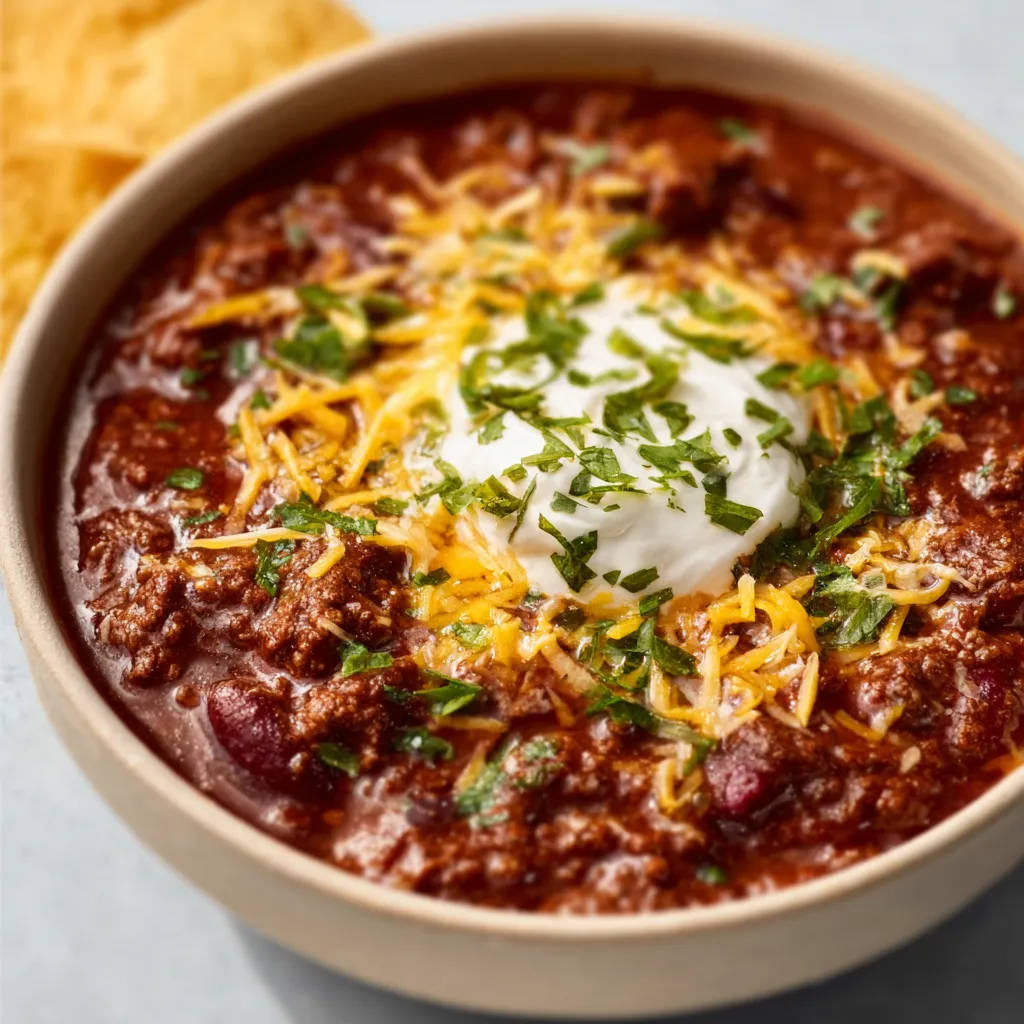
I can still picture my Grandma Betty, always the queen of potlucks, whipping up something delicious in her tiny kitchen. Her secret weapon? Simple, crowd-pleasing recipes, and one that always stood out was her version of Cheesy Corn Dip. That creamy, sweet, and savory dip was always the first thing to disappear, and now I’m sharing my updated take on it with you – get ready for a dip so good, everyone will be asking for the recipe!
Why This Cheesy Corn Dip Recipe is a Winner
Okay, let’s be real. There are a million dip recipes out there. So, what makes this Cheesy Corn Dip the ultimate champion? A few things, actually:
- It’s unbelievably easy: Seriously, you can throw this together in minutes. Minimal chopping, minimal fuss.
- It’s packed with flavor: We’re talking sweet corn, savory cheese, a hint of spice, and a creamy base that will make you swoon.
- It’s versatile: Serve it hot or cold, with tortilla chips, crackers, veggies – the possibilities are endless.
- It’s always a hit: I’ve made this for countless parties, potlucks, and family gatherings, and it’s always the first thing to disappear.
Basically, it’s the perfect appetizer for any occasion. Trust me on this one.
Ingredients You’ll Need

Alright, let’s gather our troops! Here’s what you’ll need to make this amazing Cheesy Corn Dip:
- Corn: I prefer using frozen corn (thawed, of course!) because it has a slightly sweeter flavor than canned. But canned corn (drained!) works just fine in a pinch. About 16 ounces, or 2 cups.
- Cream Cheese: This is the base of our dip, so make sure it’s softened! Full-fat cream cheese will give you the creamiest, most decadent results, but you can use reduced-fat if you prefer. 8 ounces.
- Mayonnaise: Don’t skimp on the mayo! It adds richness and tang. I recommend using a good quality mayonnaise. About 1/2 cup.
- Sour Cream: A touch of sour cream adds a lovely tang and helps to thin out the dip slightly. About 1/4 cup.
- Cheddar Cheese: Sharp cheddar cheese is my go-to, but you can use any kind of cheddar you like. Shredded is best for easy melting. About 1 cup.
- Monterey Jack Cheese: This melts beautifully and adds a mild, creamy flavor. About 1 cup.
- Green Chiles: These add a touch of heat and flavor. You can find them canned in the Mexican food aisle of most grocery stores. 4 ounces, drained.
- Green Onions: For a little freshness and a pop of color. About 2-3 green onions, thinly sliced.
- Garlic Powder: A little garlic powder goes a long way! About 1/2 teaspoon.
- Onion Powder: Just like garlic powder, onion powder adds a subtle depth of flavor. About 1/2 teaspoon.
- Salt and Pepper: To taste!
- Optional: A pinch of cayenne pepper for extra heat, or a sprinkle of paprika for color.
Step-by-Step Instructions: Let’s Make Some Dip!
Okay, here’s where the magic happens! Follow these simple steps, and you’ll be enjoying your Cheesy Corn Dip in no time.
Step 1: Get Everything Ready
Before you start, make sure your cream cheese is softened. This is crucial for a smooth and creamy dip. Also, if you’re using frozen corn, thaw it completely and drain off any excess water. Drain your canned green chiles, too. Nobody wants a watery dip!
Step 2: Combine the Ingredients
In a large bowl, combine the softened cream cheese, mayonnaise, and sour cream. Use a hand mixer or a sturdy spoon to mix everything together until it’s smooth and creamy. There shouldn’t be any lumps of cream cheese!
Step 3: Add the Cheese (and the Rest!)
Now, add the cheddar cheese, Monterey Jack cheese, corn, green chiles, green onions, garlic powder, and onion powder to the bowl. Season with salt and pepper to taste. If you’re feeling adventurous, add a pinch of cayenne pepper for a little kick.
Step 4: Mix It All Up
Stir everything together until all the ingredients are evenly distributed. Make sure the cheese is well incorporated into the cream cheese mixture. Give it a taste and adjust the seasonings as needed. Does it need more salt? A little more heat? This is your chance to customize it to your liking.
Step 5: Bake (or Don’t!)
You have two options here: you can bake the dip for a warm, melty experience, or you can serve it cold. Both are delicious!
- To Bake: Preheat your oven to 350°F (175°C). Transfer the dip to a baking dish (an 8×8 inch dish works well). Bake for 20-25 minutes, or until the dip is bubbly and the cheese is melted and lightly golden brown.
- To Serve Cold: Simply cover the bowl and refrigerate for at least 30 minutes to allow the flavors to meld. This is a great option if you’re making the dip ahead of time.
Step 6: Serve and Enjoy!
Once the dip is ready, serve it immediately with your favorite dippers. Tortilla chips are a classic choice, but you can also use crackers, pretzels, or even fresh veggies like bell peppers and celery sticks. Get creative!
Tips and Tricks for the Best Cheesy Corn Dip
Want to take your Cheesy Corn Dip to the next level? Here are a few of my favorite tips and tricks:
- Don’t overbake it: Overbaking can cause the cheese to become greasy and the dip to dry out. Keep a close eye on it and remove it from the oven as soon as the cheese is melted and bubbly.
- Use good quality ingredients: This is especially important for the cream cheese and mayonnaise. Using high-quality ingredients will result in a richer, more flavorful dip.
- Adjust the spice level to your liking: If you’re not a fan of spicy food, you can omit the green chiles or use a milder variety. If you like a lot of heat, add a pinch of cayenne pepper or a dash of hot sauce.
- Make it ahead of time: This dip is actually better the next day, as the flavors have time to meld. You can make it up to 24 hours in advance and store it in the refrigerator.
- Add some protein: Want to make this dip a little more substantial? Add some cooked and crumbled bacon, shredded chicken, or ground sausage. Just be sure to adjust the seasonings accordingly.
Variations and Add-Ins
The beauty of this recipe is that it’s so easy to customize! Here are a few variations and add-ins to get you inspired:
- Jalapeño Popper Corn Dip: Add diced jalapeños and bacon for a spicy and smoky twist.
- Buffalo Chicken Corn Dip: Shredded chicken, buffalo sauce, and blue cheese crumbles – need I say more?
- Mexican Street Corn Dip: Inspired by the flavors of elote, this variation includes lime juice, cotija cheese, and chili powder. It’s similar to Mexican Street Corn Salad but in dip form!
- Spinach and Artichoke Corn Dip: Add chopped spinach and artichoke hearts for a healthier and more sophisticated version.
- Crab Corn Dip: Fold in some cooked crab meat for a luxurious and decadent appetizer.
Serving Suggestions
Okay, so you’ve made this amazing Cheesy Corn Dip. Now, what do you serve it with? Here are a few ideas:
- Tortilla Chips: A classic choice that never fails.
- Crackers: Choose a variety of crackers, such as Ritz crackers, Wheat Thins, or Triscuits.
- Pretzels: Pretzel crisps or pretzel rods add a nice salty crunch.
- Veggies: Bell peppers, celery sticks, carrots, and cucumber slices are all great healthy options.
- Bread: Toasted baguette slices or pita bread are perfect for scooping up the dip.
- As a topping: Try dolloping it on top of burgers, tacos, or baked potatoes.
Frequently Asked Questions (FAQ)
Got questions? I’ve got answers! Here are some of the most common questions I get asked about this Cheesy Corn Dip recipe:
- Can I use fresh corn instead of frozen or canned?
- Absolutely! If you have fresh corn on the cob, grill or boil it until it’s tender, then cut the kernels off the cob and use them in the recipe. You’ll need about 2 cups of corn kernels.
- Can I make this dip in a slow cooker?
- Yes, you can! Combine all the ingredients in a slow cooker and cook on low for 2-3 hours, or until the cheese is melted and bubbly. Stir occasionally to prevent sticking. Keep it warm in the slow cooker until serving.
- Can I freeze this dip?
- I don’t recommend freezing this dip, as the texture of the cream cheese can change when it’s thawed. It’s best to make it fresh or store it in the refrigerator for up to 24 hours.
- My dip is too thick. How can I thin it out?
- If your dip is too thick, you can add a little milk or sour cream to thin it out. Start with a tablespoon at a time and stir until you reach the desired consistency.
- Can I use different kinds of cheese?
- Of course! Feel free to experiment with different cheeses. Pepper jack, Colby jack, or even a little bit of blue cheese would all be delicious.
Other Delicious Appetizer Recipes to Try
If you’re looking for more easy and delicious appetizer recipes, here are a few of my favorites:
- Rotel Cream Cheese Sausage Balls: A classic appetizer that’s always a crowd-pleaser.
- Mexican Street Corn And Shrimp Skillet: If you like the Mexican street corn flavors, you might love this main course!
- Mexican Street Corn White Chicken Chili: This chili recipe uses similar flavors as the corn dip, but in a hearty and satisfying soup.
- Cheesy Scalloped Potatoes: A comforting and cheesy side dish that’s perfect for any occasion (uses heavy cream).
- Cheesy Scalloped Potatoes: A comforting and cheesy side dish that’s perfect for any occasion (uses milk instead of heavy cream).
Get Ready to Impress!
So there you have it – my ultimate recipe for Cheesy Corn Dip! It’s easy, delicious, and always a hit. Whether you’re hosting a party, watching the game, or just craving a cheesy snack, this dip is sure to satisfy. Go ahead and give it a try – you won’t be disappointed!
Can I use fresh corn instead of frozen or canned corn for the cheesy corn dip?
Yes, you can use fresh corn. Grill or boil it until tender, then cut the kernels off the cob. You’ll need about 2 cups of corn kernels.
How can I serve the Cheesy Corn Dip?
You can serve the dip hot (baked) or cold with options such as tortilla chips, crackers, pretzels, or fresh vegetables for dipping.
Is it possible to prepare the Cheesy Corn Dip in advance?
Yes, you can make the dip up to 24 hours in advance and store it in the refrigerator. The flavors meld together nicely overnight.
What are some variations I can make to the Cheesy Corn Dip?
You can try adding jalapeños and bacon for a Jalapeño Popper Corn Dip, shredded chicken and buffalo sauce for a Buffalo Chicken Corn Dip, or lime juice and cotija cheese for a Mexican Street Corn Dip.

Best Cheesy Corn Dip
Ingredients
Equipment
Method
- Preheat oven to 350°F (175°C) if baking.
- Ensure cream cheese is softened. Thaw frozen corn and drain excess water. Drain canned green chiles.
- In a large bowl, combine softened cream cheese, mayonnaise, and sour cream. Mix with a hand mixer or spoon until smooth and creamy.
- Add cheddar cheese, Monterey Jack cheese, corn, green chiles, green onions, garlic powder, and onion powder to the bowl.
- Season with salt and pepper to taste. Add cayenne pepper if desired.
- Stir until all ingredients are evenly distributed and cheese is well incorporated.
- Taste and adjust seasonings as needed.
- If baking, transfer the dip to an 8×8 inch baking dish and bake for 20-25 minutes, or until bubbly and lightly golden brown.
- If serving cold, cover and refrigerate for at least 30 minutes.
- Serve immediately with tortilla chips, crackers, pretzels, or vegetables.