The Dream Team: Ingredients for Your Pumpkin Pie Bars

For the Graham Cracker Crust:
- 1 1/2 cups graham cracker crumbs
- 1/3 cup granulated sugar
- 6 tablespoons (3 ounces) unsalted butter, melted
For the Creamy Pumpkin Filling:
- 1 (15-ounce) can pumpkin puree (not pumpkin pie filling!)
- 1 (14-ounce) can sweetened condensed milk
- 2 large eggs
- 1 teaspoon pumpkin pie spice
- 1/2 teaspoon ground cinnamon
- 1/4 teaspoon ground ginger
- 1/4 teaspoon ground nutmeg
- 1/4 teaspoon salt
- 1 teaspoon vanilla extract
Optional Toppings:
- Whipped cream
- Caramel sauce
- Chopped pecans or walnuts
- Cinnamon sugar
Let’s Get Baking: Step-by-Step Instructions
Don’t be intimidated! These Pumpkin Pie Bars are surprisingly easy to make. Just follow these simple steps, and you’ll have a delicious dessert in no time.
Step 1: Prepare the Graham Cracker Crust
- Preheat your oven to 350°F (175°C).
- In a medium bowl, combine the graham cracker crumbs, sugar, and melted butter. Mix well until evenly moistened.
- Press the mixture firmly into the bottom of a 9×13 inch baking pan. You can use the bottom of a measuring cup to help create an even layer.
- Bake the crust for 8-10 minutes, or until lightly golden brown. Let cool slightly while you prepare the filling.
Step 2: Whip Up the Pumpkin Pie Filling
- In a large bowl, whisk together the pumpkin puree, sweetened condensed milk, eggs, pumpkin pie spice, cinnamon, ginger, nutmeg, salt, and vanilla extract until smooth and well combined.
Step 3: Assemble and Bake the Pumpkin Pie Bars
- Pour the pumpkin filling evenly over the pre-baked graham cracker crust.
- Bake for 30-35 minutes, or until the filling is set around the edges but still has a slight jiggle in the center. Don’t overbake, as the filling will continue to set as it cools.
- Remove from the oven and let cool completely in the pan on a wire rack.
- Once cooled, cover and refrigerate for at least 2 hours before cutting into bars. This will allow the filling to fully set and make them easier to slice.
Step 4: Cut, Serve, and Enjoy!
- Cut the cooled Pumpkin Pie Bars into squares or rectangles.
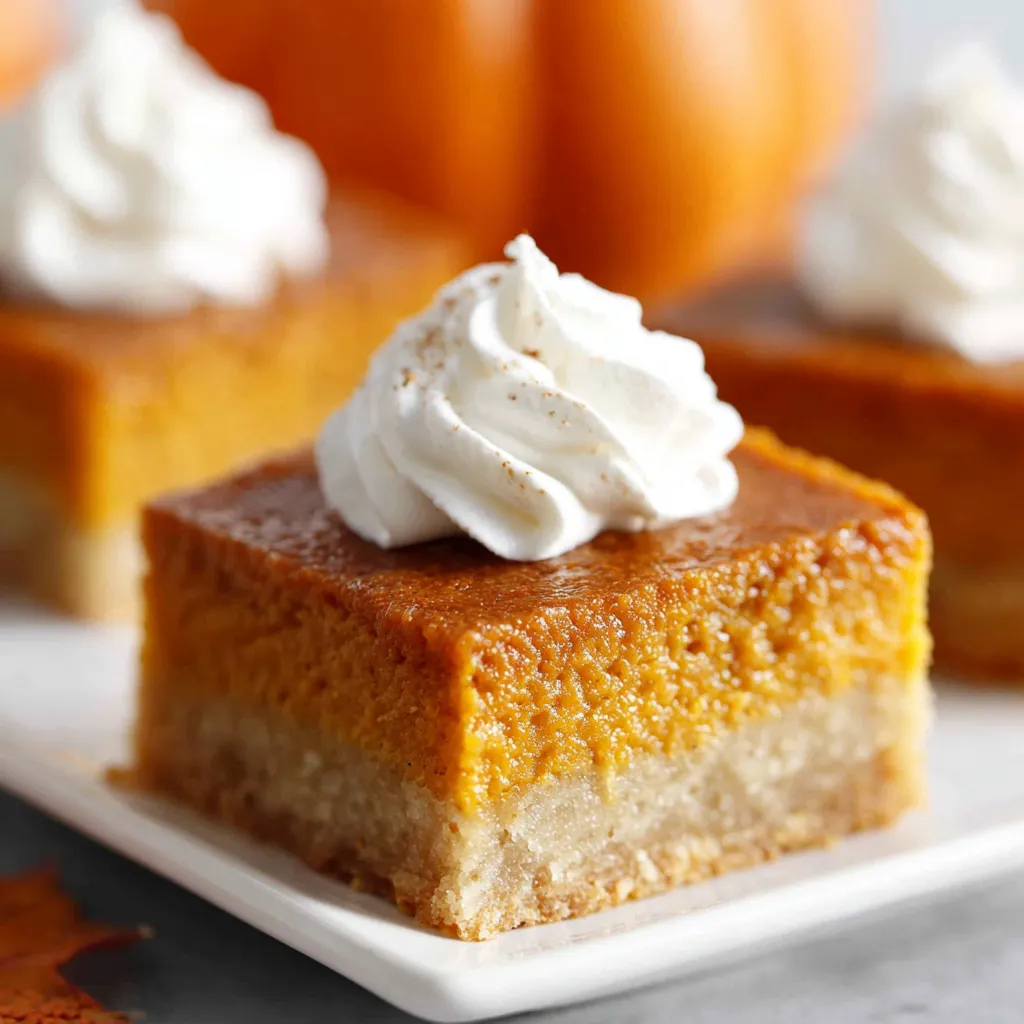
- Serve chilled and garnish with your favorite toppings, such as whipped cream, caramel sauce, or chopped nuts.
- Enjoy!
Secrets to Pumpkin Pie Bar Perfection
Okay, let’s talk about some tips and tricks to ensure your Pumpkin Pie Bars are the absolute best they can be. I’ve learned a few things along the way!
The Right Pumpkin Puree
This is crucial! Make sure you’re using 100% pure pumpkin puree, not pumpkin pie filling. Pumpkin pie filling already has spices and sugar added, which will throw off the flavor balance of your bars.
Don’t Overbake!
Overbaking is the enemy of creamy pumpkin pie bars. The filling should still have a slight jiggle in the center when you take them out of the oven. It will continue to set as it cools. Overbaked bars can be dry and cracked, and nobody wants that!
Cooling is Key
Patience, my friend, patience! Don’t rush the cooling process. Letting the bars cool completely at room temperature and then chilling them in the refrigerator for at least 2 hours is essential for the filling to set properly. This will make them easier to cut and give them that perfect creamy texture.
Spice it Up (or Down)
Feel free to adjust the spices to your liking. If you prefer a stronger pumpkin spice flavor, add a little more. If you’re not a fan of ginger or nutmeg, you can reduce the amount or omit them altogether. This recipe is your canvas – make it your own!
Crust Customization
While the graham cracker crust is a classic, you can experiment with other crust options. Try using a shortbread crust, gingersnap crust, or even a chocolate cookie crust for a fun twist. You could even try a Chocolate Pecan Pie crust for a richer flavor.
Variations for Adventurous Bakers
Want to take your Pumpkin Pie Bars to the next level? Here are a few creative variations to try:
Chocolate Chip Pumpkin Pie Bars
Add 1/2 cup of chocolate chips (milk, dark, or semi-sweet) to the pumpkin filling for a touch of chocolatey goodness.
Pecan Streusel Topping
Prepare a simple pecan streusel topping (flour, butter, brown sugar, and chopped pecans) and sprinkle it over the filling before baking for a crunchy and nutty topping.
Maple Glaze
Drizzle a maple glaze over the cooled bars for a touch of sweetness and warmth. Simply whisk together maple syrup, powdered sugar, and a splash of milk until smooth.
Cream Cheese Swirl
Beat together softened cream cheese, sugar, and vanilla extract. Dollop spoonfuls of the cream cheese mixture over the pumpkin filling and swirl it in with a knife before baking.
Making it Ahead & Storage Tips
Good news! These Pumpkin Pie Bars are a great make-ahead dessert. You can bake them up to 2 days in advance and store them in the refrigerator. In fact, I think they taste even better the next day after the flavors have had a chance to meld together.
To store, cover the bars tightly with plastic wrap or place them in an airtight container. They will keep in the refrigerator for up to 3-4 days.
Unfortunately, I don’t recommend freezing these bars. The texture of the filling can change after freezing and thawing, making them less creamy and enjoyable.
Serving Suggestions for Pumpkin Pie Bars
These bars are delicious on their own, but here are a few ideas to elevate your serving experience:
- Serve them with a dollop of freshly whipped cream and a sprinkle of cinnamon.
- Drizzle them with caramel sauce or chocolate syrup.
- Pair them with a scoop of vanilla ice cream or a scoop of Pumpkin Crème Brûlée.
- Serve them with a warm beverage, such as coffee, tea, or hot chocolate.
- Cut them into smaller squares and serve them as part of a dessert platter alongside other fall favorites like Apple Crisp Mini Cheesecakes or a Sweet Potato Casserole.
Troubleshooting Common Pumpkin Pie Bar Problems
Even with the best recipe, sometimes things don’t go exactly as planned. Here are a few common problems and how to fix them:
Cracked Filling
The most common cause of cracked filling is overbaking. Remember to take the bars out of the oven when the filling is still slightly jiggly in the center. You can also try reducing the oven temperature slightly.
Soggy Crust
To prevent a soggy crust, make sure to pre-bake it until it’s lightly golden brown. This will help create a barrier between the crust and the filling. Also, be sure to let the crust cool slightly before pouring in the filling.
Filling Not Setting
If your filling isn’t setting, it could be due to underbaking or not chilling the bars for long enough. Make sure to bake them until the edges are set but the center is still slightly jiggly. And don’t forget to chill them in the refrigerator for at least 2 hours before cutting.
Bars Sticking to the Pan
To prevent the bars from sticking to the pan, you can line the pan with parchment paper before pressing in the crust. Leave an overhang of parchment paper on the sides of the pan, which will make it easy to lift the bars out after they’ve cooled.
Final Thoughts: Embrace the Pumpkin Spice!
I hope you love these Pumpkin Pie Bars as much as I do! They are the perfect way to celebrate the flavors of fall and share some cozy sweetness with your loved ones. Don’t be afraid to get creative with the variations and toppings – have fun experimenting and make them your own. Happy baking!
What’s the key to preventing a cracked filling in these pumpkin pie bars?
Avoid overbaking! The filling should still have a slight jiggle in the center when you remove them from the oven. You can also try reducing the oven temperature slightly.
Can I use pumpkin pie filling instead of pumpkin puree?
No, you should use 100% pure pumpkin puree, not pumpkin pie filling. Pumpkin pie filling already contains spices and sugar, which will throw off the flavor balance of the bars.
How far in advance can I make these Pumpkin Pie Bars?
You can bake these Pumpkin Pie Bars up to 2 days in advance and store them in the refrigerator. They often taste even better the next day after the flavors have melded.
What can I do to prevent the crust from becoming soggy?
Make sure to pre-bake the crust until it’s lightly golden brown before adding the filling. This creates a barrier and helps prevent sogginess. Also, let the crust cool slightly before pouring in the filling.
Perfect Pumpkin Pie Bars
Ingredients
Equipment
Method
- Preheat your oven to 350°F (175°C).
- In a medium bowl, combine the graham cracker crumbs, sugar, and melted butter. Mix well until evenly moistened.
- Press the mixture firmly into the bottom of a 9×13 inch baking pan. You can use the bottom of a measuring cup to help create an even layer.
- Bake the crust for 8-10 minutes, or until lightly golden brown. Let cool slightly while you prepare the filling.
- In a large bowl, whisk together the pumpkin puree, sweetened condensed milk, eggs, pumpkin pie spice, cinnamon, ginger, nutmeg, salt, and vanilla extract until smooth and well combined.
- Pour the pumpkin filling evenly over the pre-baked graham cracker crust.
- Bake for 30-35 minutes, or until the filling is set around the edges but still has a slight jiggle in the center. Don’t overbake, as the filling will continue to set as it cools.
- Remove from the oven and let cool completely in the pan on a wire rack.
- Once cooled, cover and refrigerate for at least 2 hours before cutting into bars. This will allow the filling to fully set and make them easier to slice.
- Cut the cooled Pumpkin Pie Bars into squares or rectangles.
- Serve chilled and garnish with your favorite toppings, such as whipped cream, caramel sauce, or chopped nuts.