I’ll never forget the year my little cousin, bless his heart, tried to “help” with Thanksgiving by dumping an entire container of sprinkles into the stuffing – thankfully, we caught it before it went into the oven! While that particular stuffing was a lost cause, it did spark a family tradition of making individual Thanksgiving Stuffing Balls, which are infinitely customizable and, thankfully, sprinkle-resistant. This year, let’s skip the sprinkle surprise and make some perfect stuffing balls together; I promise they’ll be the star of your Thanksgiving spread!
Why Stuffing Balls Are the Thanksgiving MVPs

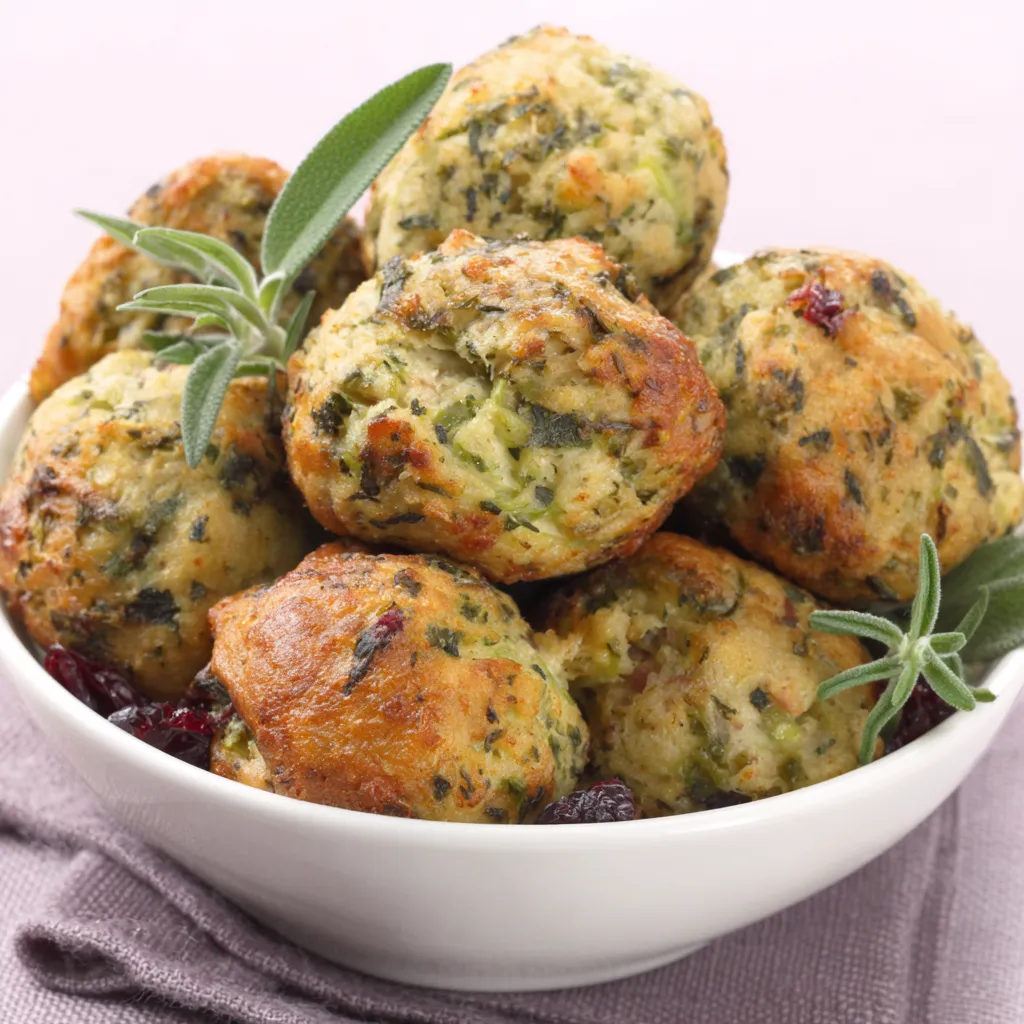
Okay, let’s be honest: stuffing is already pretty amazing. But stuffing balls? They take it to a whole new level. Here’s why you absolutely NEED these on your Thanksgiving table:
- Portion Control (Kind Of): Okay, maybe not strict portion control, but it’s easier to grab a few stuffing balls than to carve out a giant scoop from the casserole dish. Plus, they look super elegant!
- Crispy Edges Galore: Who doesn’t love the crispy edges of stuffing? By making them into balls, you maximize that crunchy, golden-brown goodness. Every bite is a textural delight!
- Easy to Customize: Got picky eaters? No problem! You can easily create different variations with different fillings, cheeses, or even herbs. More on that later!
- Perfect for Leftovers: If you’re lucky enough to have leftover stuffing (which, let’s face it, is a Thanksgiving miracle), stuffing balls are the perfect way to repurpose it.
- They’re Just Plain Fun!: Seriously, who can resist a perfectly formed, golden-brown ball of savory deliciousness? They’re festive, fun, and guaranteed to bring a smile to everyone’s face.
The Ultimate Thanksgiving Stuffing Balls Recipe: Your Step-by-Step Guide
Alright, let’s get down to business. This recipe is designed to be easy, adaptable, and absolutely delicious. Don’t be intimidated; I’ll walk you through every step of the way!
Ingredients You’ll Need:
- Stuffing Base: About 6-8 cups of cooked stuffing. You can use your favorite recipe (and I highly recommend my Homemade Stuffing recipe!), a store-bought mix (no judgment!), or even leftover stuffing from last year (if you froze it properly!).
- Binder: 2 large eggs, lightly beaten. This helps the stuffing hold its shape.
- Flavor Boosters:
- 1/4 cup melted butter (because butter makes everything better!)
- 1/4 cup chicken or vegetable broth (to add moisture and flavor)
- 1/4 cup chopped fresh parsley (for freshness and color)
- 1/4 cup chopped celery (for added texture and flavor – omit if your original stuffing already has it)
- Salt and pepper to taste (don’t be shy!)
- Optional Add-Ins (Get Creative!):
- 1/2 cup cooked and crumbled sausage or bacon
- 1/2 cup dried cranberries or cherries
- 1/2 cup chopped nuts (pecans, walnuts, or almonds work well)
- 1/2 cup grated cheese (cheddar, Gruyere, or Parmesan are all great options)
- 1/4 cup chopped herbs (sage, thyme, or rosemary)
Equipment You’ll Need:
- Large mixing bowl
- Baking sheet
- Parchment paper or silicone baking mat
- Ice cream scoop or cookie scoop (optional, but helpful for uniform sizing)
Let’s Get Cooking: Step-by-Step Instructions
- Preheat Your Oven: Preheat your oven to 350°F (175°C). Line a baking sheet with parchment paper or a silicone baking mat. This will prevent the stuffing balls from sticking and make cleanup a breeze.
- Combine the Ingredients: In a large mixing bowl, gently combine the cooked stuffing, beaten eggs, melted butter, chicken broth, parsley, celery (if using), salt, and pepper. Be careful not to overmix; you want the stuffing to retain some of its texture.
- Add Your Optional Ingredients: Now comes the fun part! If you’re using any of the optional add-ins, gently fold them into the stuffing mixture. This is where you can really get creative and customize your stuffing balls to your liking.
- Form the Balls: Using your hands, an ice cream scoop, or a cookie scoop, form the stuffing mixture into balls about 1 1/2 to 2 inches in diameter. Place the stuffing balls on the prepared baking sheet, leaving a little space between each one.
- Bake to Golden Perfection: Bake for 20-25 minutes, or until the stuffing balls are heated through and golden brown on the outside. You can also broil them for the last minute or two for extra crispiness, but keep a close eye on them so they don’t burn!
- Serve and Enjoy!: Let the stuffing balls cool slightly before serving. They’re delicious on their own, or you can serve them with gravy, cranberry sauce, or any of your favorite Thanksgiving sides.
Troubleshooting Tips: Because We’ve All Been There
Even the best recipes can sometimes have a few hiccups. Here are some common problems you might encounter when making stuffing balls, and how to fix them:
- Stuffing Balls Are Too Dry: If your stuffing balls are dry and crumbly, add a little more chicken broth, one tablespoon at a time, until the mixture is moist enough to hold its shape.
- Stuffing Balls Are Too Wet: If your stuffing balls are too wet and mushy, add a little more breadcrumbs or dried stuffing mix to absorb the excess moisture. You can also bake them for a few extra minutes to help them dry out.
- Stuffing Balls Are Falling Apart: If your stuffing balls are falling apart, make sure you’re using enough eggs as a binder. You can also try adding a tablespoon or two of flour to help them hold their shape.
- Stuffing Balls Are Burning: If your stuffing balls are burning on the bottom, lower the oven temperature by 25 degrees and bake them for a few minutes longer. You can also try placing a baking sheet underneath the baking sheet with the stuffing balls to help distribute the heat more evenly.
Creative Variations to Spice Things Up
The beauty of stuffing balls is that they’re incredibly versatile. Here are a few creative variations to inspire you:
- Sausage and Apple Stuffing Balls: Add cooked and crumbled sausage and diced apples to your stuffing mixture for a sweet and savory twist. A touch of sage complements this combination beautifully.
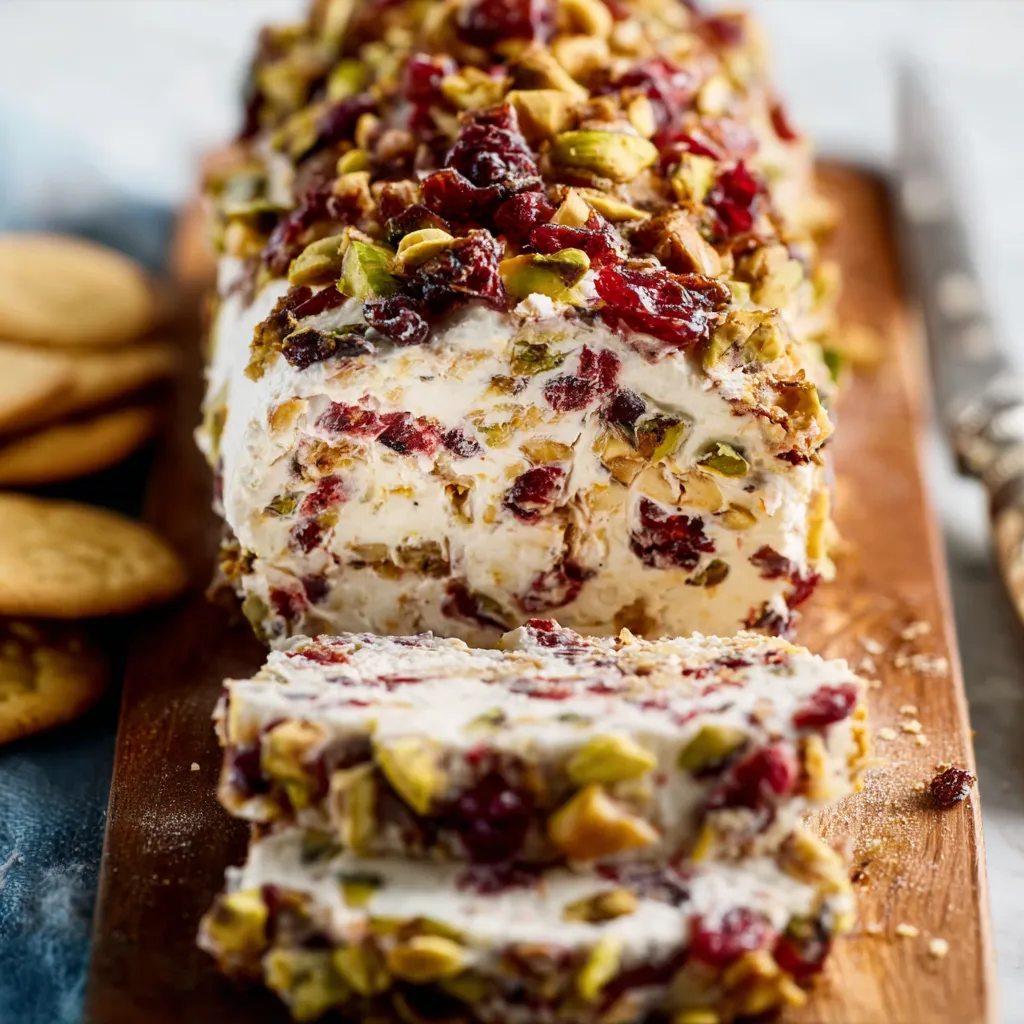
- Cranberry and Walnut Stuffing Balls: For a festive and flavorful option, add dried cranberries and chopped walnuts to your stuffing mixture. These are particularly delicious with a hint of orange zest. These are very similar to my Cranberry Turkey Stuffing Balls!
- Mushroom and Gruyere Stuffing Balls: Sautéed mushrooms and grated Gruyere cheese add a rich and savory flavor to your stuffing balls. A splash of white wine while sautéing the mushrooms elevates the dish even further.
- Spicy Chorizo and Cornbread Stuffing Balls: Give your stuffing balls a kick with cooked and crumbled chorizo and cornbread stuffing mix. A pinch of chili powder adds even more heat.
- Cheddar and Bacon Stuffing Balls: Because everything is better with bacon and cheese!
Make-Ahead Tips for a Stress-Free Thanksgiving
Thanksgiving can be a stressful holiday, but with a little planning, you can make things much easier on yourself. Here are some make-ahead tips for your stuffing balls:
- Prepare the Stuffing in Advance: You can make the stuffing base (whether it’s from scratch or a store-bought mix) up to 2 days in advance and store it in the refrigerator. Just make sure to bring it to room temperature before forming the balls.
- Form the Balls Ahead of Time: You can form the stuffing balls up to 1 day in advance and store them in the refrigerator. Cover them tightly with plastic wrap to prevent them from drying out. Add a little melted butter just before baking.
- Freeze for Later: Stuffing balls freeze beautifully! Simply bake them as directed, let them cool completely, and then freeze them in a single layer on a baking sheet. Once they’re frozen solid, transfer them to a freezer bag or container. Reheat them in the oven at 350°F (175°C) until heated through.
Serving Suggestions: Beyond the Thanksgiving Table
While stuffing balls are a Thanksgiving staple, they’re also delicious in other ways. Here are a few creative serving suggestions:
- Appetizers: Serve them as appetizers with a dipping sauce like cranberry sauce, gravy, or even a spicy aioli. I have more ideas in my Holiday Appetizers article!
- Side Dish: Serve them as a side dish alongside your favorite roasted meats or vegetables.
- Stuffing Ball Benedict: Top a toasted English muffin with a stuffing ball, a poached egg, and hollandaise sauce for a decadent brunch treat.
- Stuffing Ball Skewers: Thread stuffing balls onto skewers with roasted vegetables and grilled chicken or sausage for a fun and flavorful meal.
- Leftover Makeover: Use leftover stuffing balls to make stuffing ball sliders, stuffing ball grilled cheese sandwiches, or even stuffing ball nachos!
Pairing Perfection: What to Serve With Your Stuffing Balls
No Thanksgiving meal is complete without the perfect pairings. Here are some dishes that complement stuffing balls beautifully:
- Roast Turkey: The classic combination! The savory stuffing balls perfectly complement the juicy turkey.
- Cranberry Sauce: The tartness of the cranberry sauce balances the richness of the stuffing balls.
- Mashed Potatoes: Creamy mashed potatoes are the perfect comfort food side dish.
- Green Bean Casserole: A Thanksgiving staple that adds a touch of sweetness and crunch to the meal.
- Gravy: Drizzle gravy over your stuffing balls for added flavor and moisture.
- Roasted Vegetables: Roasted Brussels sprouts, carrots, or sweet potatoes add a healthy and colorful touch to the Thanksgiving table.
If you have leftover turkey, consider using it to make Cranberry Turkey Stuffing Bites for a post-holiday snack!
Final Thoughts: Stuffing Ball Success is Within Reach!
So there you have it: everything you need to know to make the best Thanksgiving stuffing balls ever! With a little planning and creativity, you can create a dish that will impress your family and friends and become a Thanksgiving tradition for years to come. Don’t be afraid to experiment with different flavors and add-ins to create your own unique stuffing ball masterpiece. Happy Thanksgiving, and happy cooking!
Why are stuffing balls considered a good Thanksgiving side dish?
Stuffing balls offer portion control, maximize crispy edges, are easy to customize, are perfect for using leftovers, and are simply fun and festive.
What are some optional add-ins I can use to customize my stuffing balls?
You can add cooked sausage or bacon, dried cranberries or cherries, chopped nuts like pecans or walnuts, grated cheese such as cheddar or Gruyere, or chopped herbs like sage or thyme.
What can I do if my stuffing balls are too dry?
If your stuffing balls are too dry and crumbly, add a little more chicken broth, one tablespoon at a time, until the mixture is moist enough to hold its shape.
Can I prepare the stuffing balls ahead of time?
Yes, you can prepare the stuffing base up to 2 days in advance, form the balls up to 1 day in advance, or even freeze them for later use. See the article for details on storing and reheating.
Best Thanksgiving Stuffing Balls
Ingredients
Equipment
Method
- Preheat oven to 350°F (175°C). Line a baking sheet with parchment paper or a silicone baking mat.
- In a large mixing bowl, gently combine the cooked stuffing, beaten eggs, melted butter, chicken broth, parsley, celery (if using), salt, and pepper.
- If using any optional add-ins, gently fold them into the stuffing mixture.
- Using your hands, an ice cream scoop, or a cookie scoop, form the stuffing mixture into balls about 1 1/2 to 2 inches in diameter.
- Place the stuffing balls on the prepared baking sheet, leaving a little space between each one.
- Bake for 20-25 minutes, or until the stuffing balls are heated through and golden brown on the outside.
- Broil for the last minute or two for extra crispiness, watching carefully to prevent burning.
- Let the stuffing balls cool slightly before serving. Serve with gravy, cranberry sauce, or other favorite Thanksgiving sides.