How do you create a truly unsettling, yet delicious, treat that’s perfect for a Halloween party, and more specifically, how do you craft an eyeball jello shot that looks convincingly gruesome while still being something people actually *want* to eat?
The Gelatinous Galaxy: Decoding Jello Shot Science
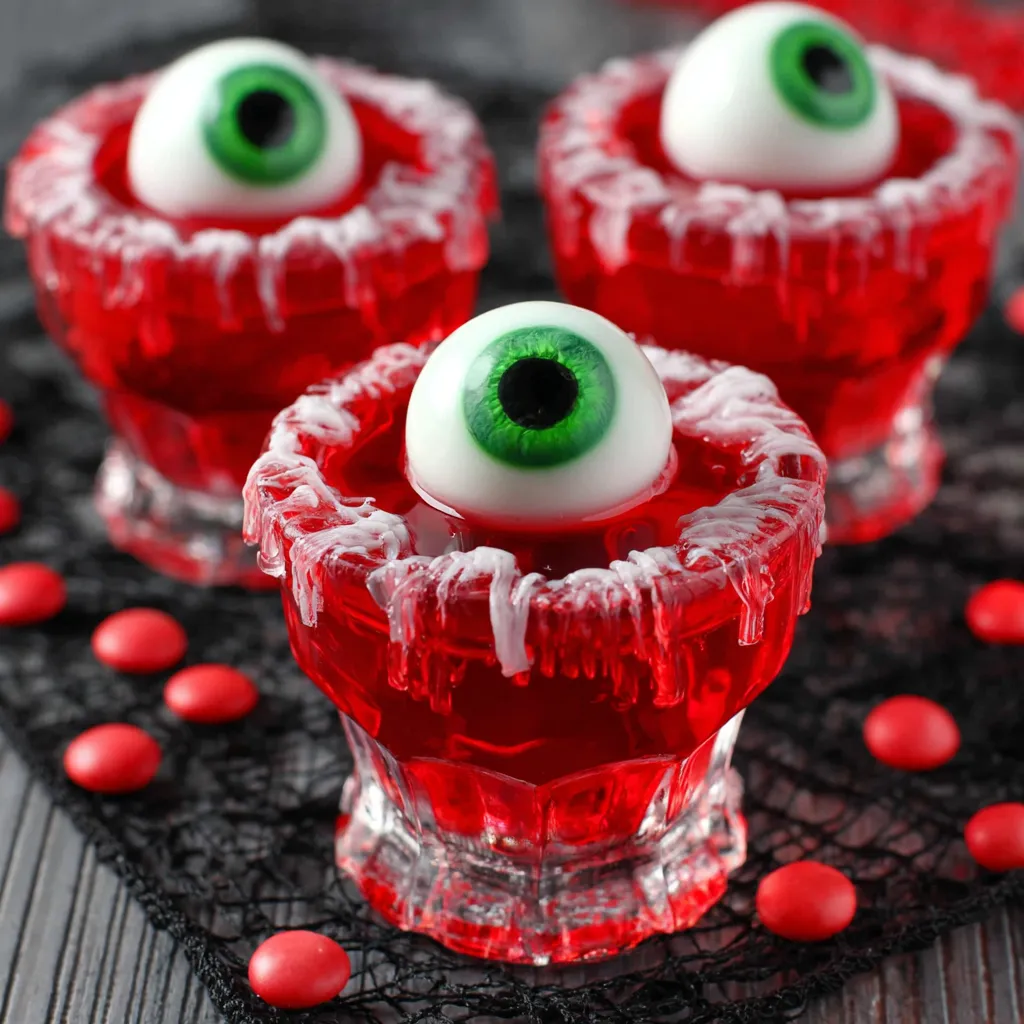
The secret to a perfect eyeball jello shot lies in understanding the science of gelatin. Gelatin is a protein derived from collagen, and its ability to form a gel depends on several factors: temperature, concentration, and the presence of other ingredients. When gelatin is dissolved in hot water, the protein strands unwind. As the mixture cools, these strands re-entangle, trapping the water molecules and creating a semi-solid structure. Too little gelatin, and you get a watery mess. Too much, and you have a rubbery, unappetizing bite. Furthermore, alcohol can interfere with the gelling process, requiring adjustments to the gelatin-to-liquid ratio. The trick is finding the sweet spot where the texture is firm enough to hold its shape but still pleasantly jiggly. For the eyeball effect, we’ll be using the principles of layering and suspension to create a realistic, yet edible, ocular masterpiece.
The Recipe for a Stare-Worthy Snack
This recipe will guide you through creating eyeball jello shots that are both visually stunning and delicious. We’ll be using a combination of gelatin, sweetened condensed milk, and food coloring to achieve the desired effect.
Ingredients:
- 1 package (0.25 oz) unflavored gelatin
- 1/2 cup cold water
- 1 1/2 cups boiling water
- 1/2 cup vodka (or more, adjust to taste – remember the science!)
- 1/4 cup sweetened condensed milk
- Blue or green food coloring
- Black food coloring
- Gummy candies (small round ones, like gummy lifesavers, or gummy bears cut into circles)
Equipment:
- Small bowls
- Measuring cups and spoons
- Whisk
- Syringe or eyedropper
- Round silicone molds (or small plastic cups)
Instructions:
- Prepare the Iris: In a small bowl, sprinkle 1/4 teaspoon of gelatin over 2 tablespoons of cold water. Let it bloom for 5 minutes.
- Create the Iris Color: In another small bowl, mix 2 tablespoons of boiling water with a few drops of blue or green food coloring. Stir in 1 tablespoon of sweetened condensed milk.
- Melt the Iris Gelatin: Microwave the bloomed gelatin for 10-15 seconds until melted. Stir it into the colored mixture.
- Pour the Iris Layer: Pour a small amount of the colored gelatin into the bottom of each mold (about 1/4 inch). Place a gummy candy on top of each, centered. This will be the pupil. Refrigerate for at least 30 minutes, or until set.
- Prepare the Eyeball Base: Sprinkle the remaining gelatin over the remaining cold water in a large bowl. Let it bloom for 5 minutes.
- Dissolve the Gelatin: Add the boiling water to the bloomed gelatin and stir until completely dissolved.
- Add Vodka: Stir in the vodka.
- Create the Eyeball Base Color: Add the remaining sweetened condensed milk and a tiny drop of blue or green food coloring to the gelatin mixture. The goal is to create a slightly opaque, whitish color resembling the sclera (white of the eye).
- Pour the Eyeball Base: Carefully pour the eyeball base mixture over the set iris layer, filling the molds almost to the top.
- Create the Veins (Optional): Use a syringe or eyedropper to carefully inject thin lines of red food coloring into the eyeball base to create veins. Be subtle – a little goes a long way! Alternatively, you can use a toothpick to drag a small amount of red gel food coloring through the base.
- Chill: Refrigerate for at least 4 hours, or preferably overnight, until completely set.
- Unmold: To unmold, gently loosen the edges of the jello shots with your fingers or a knife. You can also briefly dip the bottom of the mold in warm water (but be careful not to melt the jello!). Invert onto a serving plate.
My Adventures in Ocular Confectionery: A Culinary Investigation
The Initial Disaster: A Watery Grave
My first few attempts at these eyeball jello shots were a disaster, to put it mildly. Like many of you, I initially thought I could just throw some gelatin, vodka, and food coloring together and call it a day. The result? A watery, separated mess that looked more like swamp water than a spooky eyeball. The gummy candies sank to the bottom, and the colors bled together. I realized I needed a more scientific approach.
The Bloom is Off the Rose (or is it?): Gelatin Revelation
Then, I had an ‘Aha!’ moment. I realized I wasn’t properly blooming the gelatin. Blooming, for those who don’t know, is the process of hydrating gelatin in cold water before adding it to hot liquid. This allows the gelatin granules to absorb water and swell, which is crucial for proper gel formation. Skipping this step resulted in uneven hydration and a weak gel structure. After properly blooming the gelatin, the base layer set much firmer and clearer.
The Alcohol Albatross: Taming the Spirits
The next hurdle was the alcohol. I discovered that alcohol inhibits the gelling process of gelatin. The more alcohol you add, the weaker the gel becomes. To compensate, I experimented with increasing the amount of gelatin. I found that slightly increasing the gelatin by about 10-15% (about 1/4 teaspoon) helped to counteract the effect of the vodka without making the jello shots too rubbery. Of course, those of you who want to avoid the alcohol altogether can create equally-effective “virgin” shots, or you can use a different alcohol with a higher proof for a stronger kick.
The Vein Strain: Mastering the Macabre Detail
Creating the veins proved to be another challenge. My first attempt involved simply stirring red food coloring into the white base. This resulted in a pink, muddy mess. I needed a way to create distinct, vein-like structures. The solution? A syringe. By carefully injecting thin lines of red food coloring into the set base, I was able to create realistic-looking veins. The key is to use a very small needle and a light touch. Less is definitely more when it comes to the veins. Also, make sure the base is fairly set before attempting the veins, or they will simply bleed into the base.
While you’re preparing for your Halloween feast, don’t forget to plan out the rest of your terrifying treats! Spooky Brownies and Pepperoni Pizza Pumpkins are always a hit, and you can wash it all down with a cauldron of Witch’s Brew Stew. If you’re looking for more eyeball-themed madness, you can even try the Halloween Eyeball Jello Shots recipe for another spin on a classic!
The Foolproof Formula: Your Eyeball Jello Shot Success Guide
After many experiments and tweaks, I’ve distilled the process down to a simple, foolproof method:
- Bloom Power: Always bloom your gelatin in cold water before adding it to hot liquid. This ensures proper hydration and a strong gel.
- Alcohol Awareness: Adjust the gelatin-to-liquid ratio if using alcohol. A slight increase in gelatin (around 10-15%) can compensate for the inhibitory effect of alcohol on gel formation.
- Color Control: Use a light hand with food coloring. A little goes a long way, especially when creating the sclera (white) of the eye. Start with a tiny drop and gradually add more until you achieve the desired shade.
- Vein Precision: Use a syringe or toothpick to create realistic veins. Inject thin lines of red food coloring into the set base for a subtle, yet effective, macabre detail. Let the base set up nicely before attempting this.
- Patience, Padawan: Allow ample time for the jello shots to set completely, preferably overnight. This will ensure a firm, stable structure and prevent them from melting when unmolded.
With these tips and tricks, you’ll be creating eyeball jello shots that are the talk (or stare) of the party. These are sure to be a smash, especially if you pair them with other creepy treats such as Crescent Mummy Dogs and Poisoned Apple Cider. Happy Haunting!
Why is it important to ‘bloom’ the gelatin?
Blooming the gelatin in cold water before adding it to hot liquid allows the gelatin granules to absorb water and swell, which is crucial for proper gel formation. Skipping this step results in uneven hydration and a weak gel structure.
How does alcohol affect the jello shot, and how can I compensate for it?
Alcohol inhibits the gelling process of gelatin, resulting in a weaker gel. To compensate, slightly increase the amount of gelatin by about 10-15%.
What’s the best way to create realistic-looking veins in the eyeball jello shots?
Use a syringe or toothpick to inject thin lines of red food coloring into the set base. The key is to use a very small needle and a light touch. Less is definitely more, and the base should be fairly set before attempting the veins.
What ingredient adjustments can I make to create non-alcoholic version of the eyeball jello shots?
The recipe can be easily adapted to create “virgin” shots simply by omitting the vodka. No other ingredient adjustments are necessary.
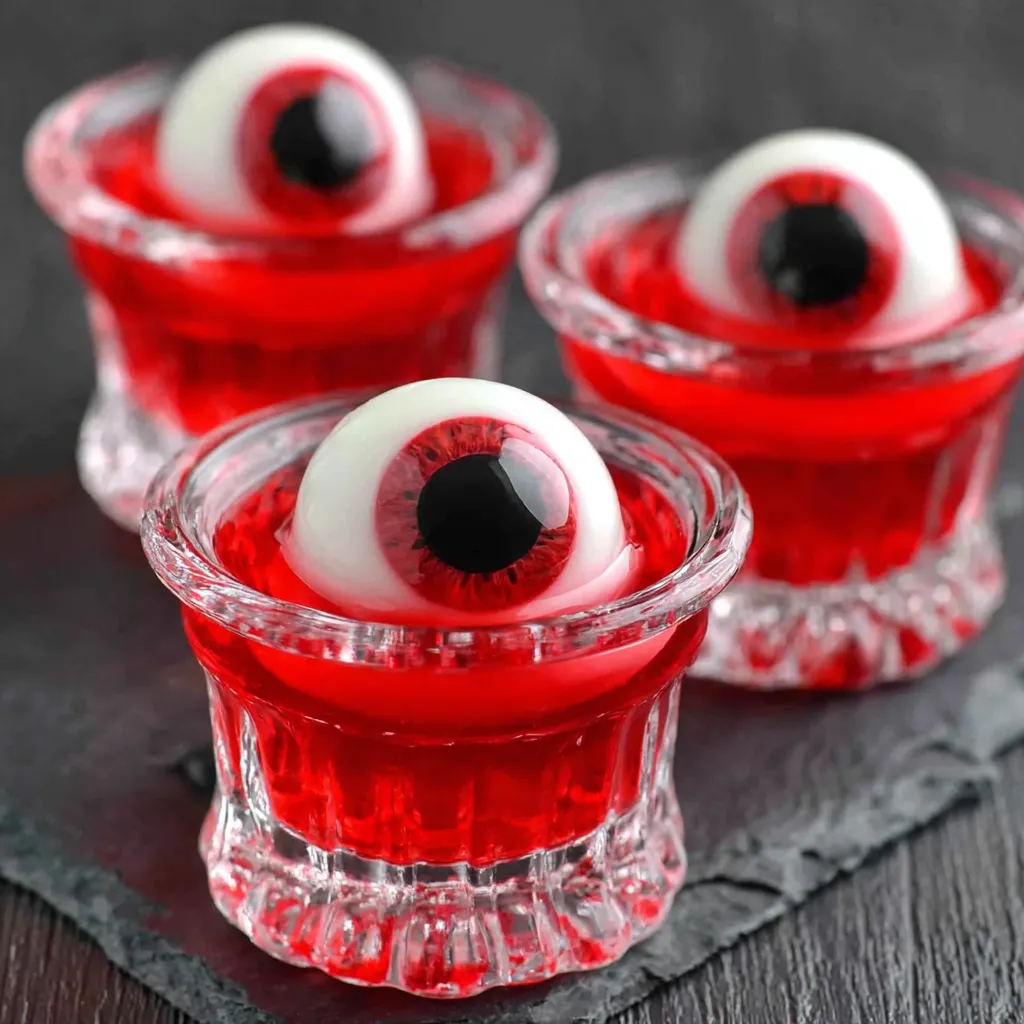
Eyeball Jello Shots
Ingredients
Equipment
Method
- Prepare the Iris: In a small bowl, sprinkle 1/4 teaspoon of gelatin over 2 tablespoons of cold water. Let it bloom for 5 minutes.
- Create the Iris Color: In another small bowl, mix 2 tablespoons of boiling water with a few drops of blue or green food coloring. Stir in 1 tablespoon of sweetened condensed milk.
- Melt the Iris Gelatin: Microwave the bloomed gelatin for 10-15 seconds until melted. Stir it into the colored mixture.
- Pour the Iris Layer: Pour a small amount of the colored gelatin into the bottom of each mold (about 1/4 inch). Place a gummy candy on top of each, centered. This will be the pupil. Refrigerate for at least 30 minutes, or until set.
- Prepare the Eyeball Base: Sprinkle the remaining gelatin over the remaining cold water in a large bowl. Let it bloom for 5 minutes.
- Dissolve the Gelatin: Add the boiling water to the bloomed gelatin and stir until completely dissolved.
- Add Vodka: Stir in the vodka.
- Create the Eyeball Base Color: Add the remaining sweetened condensed milk and a tiny drop of blue or green food coloring to the gelatin mixture. The goal is to create a slightly opaque, whitish color resembling the sclera (white of the eye).
- Pour the Eyeball Base: Carefully pour the eyeball base mixture over the set iris layer, filling the molds almost to the top.
- Create the Veins (Optional): Use a syringe or eyedropper to carefully inject thin lines of red food coloring into the eyeball base to create veins. Be subtle – a little goes a long way! Alternatively, you can use a toothpick to drag a small amount of red gel food coloring through the base.
- Chill: Refrigerate for at least 4 hours, or preferably overnight, until completely set.
- Unmold: To unmold, gently loosen the edges of the jello shots with your fingers or a knife. You can also briefly dip the bottom of the mold in warm water (but be careful not to melt the jello!). Invert onto a serving plate.
