I remember once trying to impress a date with a fancy dessert, convinced I was a culinary genius, only to present a slightly undercooked, slightly sunken mess… that, thankfully, still tasted amazing! That night, I realized even imperfect attempts at a Molten Chocolate Lava Cake could be salvaged by sheer chocolatey goodness. Today, I’m going to walk you through a foolproof recipe so you can avoid my early mishaps and enjoy a perfectly gooey, decadent lava cake every single time.
Unlocking the Secrets to Perfect Molten Chocolate Lava Cake
Let’s be honest, the allure of a Molten Chocolate Lava Cake lies in that irresistible molten center. But achieving that perfect balance – a set exterior with a flowing, warm interior – can feel like a high-stakes baking challenge. Don’t worry, my friend, I’m here to demystify the process and equip you with the knowledge to create lava cakes that will impress even the most discerning dessert connoisseur.
Why This Recipe Works
This recipe isn’t just a collection of ingredients; it’s a carefully crafted method designed to ensure success. Here’s why it works:
- Precise Baking Time: Baking time is crucial. Even a minute too long can turn your lava cake into a regular chocolate cake. I’ll guide you on how to gauge the perfect doneness.
- Quality Chocolate: Using high-quality chocolate is non-negotiable. The flavor of the chocolate will be the star, so choose one you genuinely love.
- Proper Ratios: The ratio of chocolate to butter to eggs is key to achieving that perfect molten center. This recipe provides the ideal balance.
- Temperature Control: Paying attention to the temperature of your ingredients, especially the melted chocolate and butter, is essential for a smooth batter.
Ingredients You’ll Need

Before we dive into the method, let’s gather our ingredients. Remember, quality ingredients make all the difference!
- 6 ounces bittersweet chocolate (60-70% cacao), chopped: Splurge a little here! The better the chocolate, the better the lava cake.
- 6 tablespoons unsalted butter, cut into pieces: Make sure it’s real butter, not margarine.
- 2 large eggs
- 2 large egg yolks
- 1/4 cup granulated sugar
- 1/4 teaspoon salt: Enhances the chocolate flavor. Don’t skip it!
- 2 tablespoons all-purpose flour: Just enough to give structure.
- Powdered sugar, for dusting (optional): Adds a touch of elegance.
Equipment You’ll Need
Having the right tools will make the process smoother and more enjoyable.
- Ramekins (4-6 ounce size): These are essential for baking individual lava cakes.
- Mixing bowls: One for melting the chocolate and butter, and another for whisking the eggs and sugar.
- Double boiler or microwave-safe bowl: For melting the chocolate.
- Whisk: For incorporating air into the eggs and sugar.
- Rubber spatula: For folding the batter and scraping the bowl.
- Measuring cups and spoons
- Oven
Step-by-Step Instructions: Your Guide to Lava Cake Perfection
Now, let’s get baking! Follow these steps carefully, and you’ll be rewarded with a decadent Molten Chocolate Lava Cake.
Step 1: Prepare the Ramekins
Generously grease and flour the ramekins. This will prevent the cakes from sticking and ensure they release easily. You can use butter or cooking spray for greasing. Tap out any excess flour.
Pro Tip: For an extra layer of protection, you can line the bottom of the ramekins with a small circle of parchment paper.
Step 2: Melt the Chocolate and Butter
In a double boiler or microwave-safe bowl, combine the chopped chocolate and butter. If using a double boiler, heat over simmering water, stirring occasionally, until melted and smooth. If using a microwave, heat in 30-second intervals, stirring in between, until melted and smooth. Be careful not to overheat the chocolate, as it can seize up.
Troubleshooting Tip: If your chocolate seizes, try adding a tablespoon of hot water and stirring vigorously. This can sometimes bring it back to a smooth consistency.
Step 3: Whisk the Eggs and Sugar
In a separate mixing bowl, whisk together the eggs, egg yolks, sugar, and salt until pale and slightly thickened. This will take about 2-3 minutes. The mixture should ribbon slightly when you lift the whisk.
Step 4: Combine the Wet Ingredients
Slowly pour the melted chocolate mixture into the egg mixture, whisking constantly until well combined. Be gentle to avoid deflating the eggs too much.
Step 5: Add the Flour
Sprinkle the flour over the chocolate mixture and gently fold it in using a rubber spatula. Be careful not to overmix, as this can develop the gluten in the flour and result in a tough cake. Fold just until the flour disappears.
Step 6: Fill the Ramekins
Divide the batter evenly among the prepared ramekins. Each ramekin should be about ¾ full.
Step 7: Bake the Cakes
Preheat your oven to 425°F (220°C). Place the ramekins on a baking sheet and bake for 12-15 minutes. The baking time will vary depending on your oven, so keep a close eye on the cakes. They are ready when the edges are set and the center is still slightly soft. The top should look slightly cracked.
The Tricky Part: Doneness! This is where practice makes perfect. Start checking at 12 minutes. You want the edges to be firm and the very center to still jiggle slightly. If the whole cake is firm, it’s overbaked. If the whole cake is liquid, it needs more time.
Step 8: Let Cool Slightly and Invert
Let the cakes cool in the ramekins for 1-2 minutes. This will help them set slightly and prevent them from collapsing when you invert them. To invert, run a thin knife around the edges of the ramekins to loosen the cakes. Place a plate over the ramekin and carefully flip it over. Gently tap the ramekin to release the cake.
Step 9: Garnish and Serve
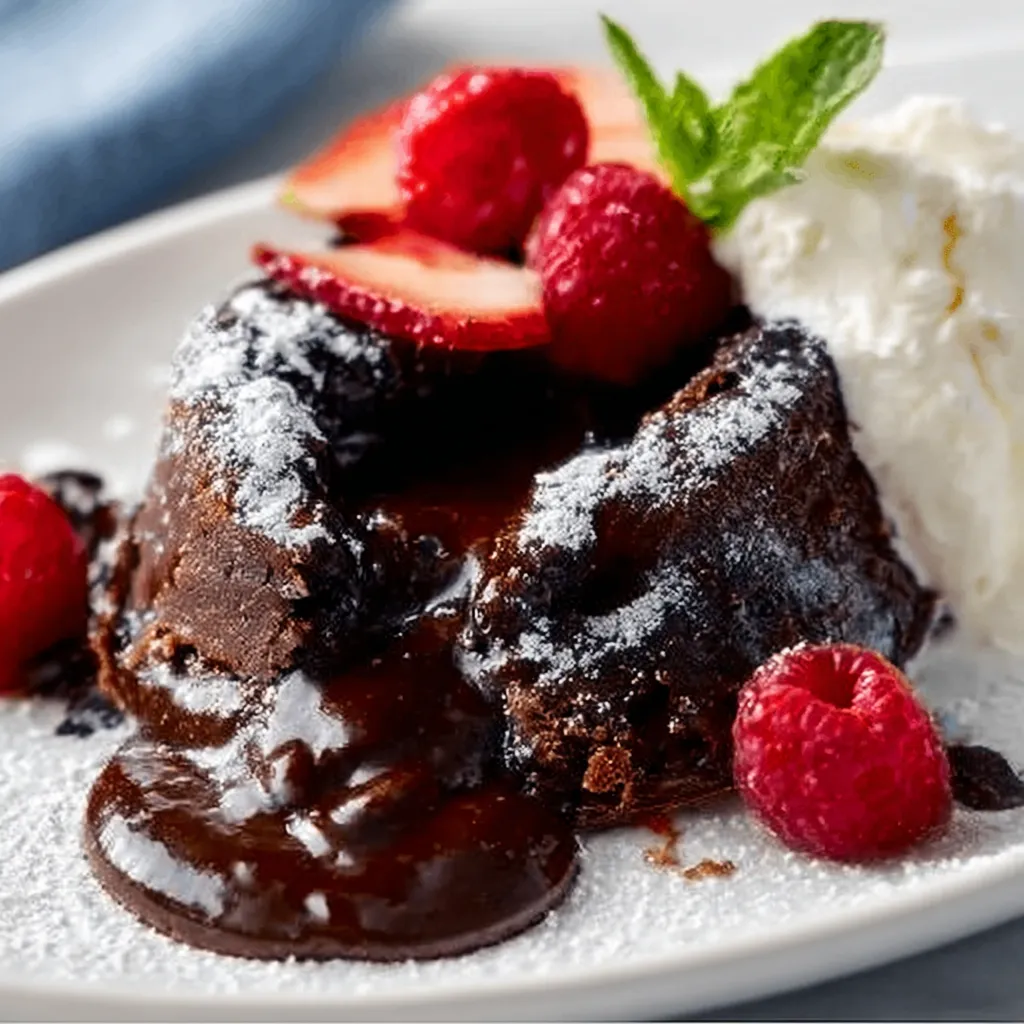
Dust the cakes with powdered sugar, if desired. Serve immediately while the center is still molten. You can also add a scoop of vanilla ice cream, fresh berries, or a dollop of whipped cream for an extra touch of decadence.
Tips for Success: Avoiding Common Mistakes
Even with the best recipe, things can sometimes go awry. Here are some tips to help you avoid common mistakes and achieve lava cake perfection.
- Don’t Overbake: This is the biggest mistake people make. Start checking the cakes at 12 minutes and adjust the baking time as needed. Remember, it’s better to underbake than overbake.
- Use Good Quality Chocolate: The flavor of the chocolate will shine through, so choose a high-quality bittersweet chocolate that you enjoy.
- Don’t Overmix the Batter: Overmixing can develop the gluten in the flour and result in a tough cake. Fold the flour in gently until just combined.
- Grease and Flour the Ramekins Thoroughly: This will prevent the cakes from sticking and ensure they release easily.
- Serve Immediately: Lava cakes are best served immediately while the center is still molten.
Variations and Adaptations
Once you’ve mastered the basic Molten Chocolate Lava Cake, you can experiment with different variations and adaptations to create your own signature dessert.
- Add a Flavor Infusion: Infuse the melted butter with flavors like espresso, orange zest, or chili powder for a unique twist.
- Try Different Chocolates: Experiment with different types of chocolate, such as milk chocolate, dark chocolate, or even white chocolate.
- Add a Filling: Place a small piece of caramel, a raspberry, or a chunk of peanut butter in the center of the batter before baking for a surprise filling.
- Make it Gluten-Free: Substitute the all-purpose flour with a gluten-free flour blend.
- White Chocolate Raspberry Lava Cakes: Use white chocolate and swirl in some raspberry jam before baking.
Serving Suggestions and Pairings
The Molten Chocolate Lava Cake is a versatile dessert that can be enjoyed in many ways. Here are some serving suggestions and pairings:
- Vanilla Ice Cream: The classic pairing! The cold ice cream complements the warm, molten cake perfectly.
- Fresh Berries: Strawberries, raspberries, and blueberries add a touch of freshness and acidity that balances the richness of the chocolate.
- Whipped Cream: A dollop of whipped cream adds a light and airy texture.
- Chocolate Sauce: For the ultimate chocolate lover, drizzle with warm chocolate sauce.
- Coffee or Espresso: The bitterness of coffee or espresso pairs well with the sweetness of the cake.
- Dessert Wine: A sweet dessert wine, such as port or sherry, can enhance the flavors of the cake.
Beyond Lava Cake: Other Chocolate Delights
If you’re a chocolate lover like me, you’re always on the lookout for new and exciting chocolate recipes. Here are a few other chocolatey treats you might enjoy:
For a salty-sweet fix, try whipping up some Chocolate Covered Pretzel Rods. They’re incredibly easy and satisfying. If you’re in the mood for something intensely chocolatey and decadent, Chocolate Fudge is the way to go. This recipe is perfect for a small batch and is surprisingly simple to make. For a more elegant dessert, consider Chocolate Raspberry Crepes. The combination of chocolate and raspberry is a classic for a reason, and crepes add a touch of sophistication. Or maybe you’re feeling like something light and airy? Indulge in some French Chocolate Mousse. Its rich flavor and velvety texture are sure to satisfy. And for a show-stopping dessert that’s both beautiful and delicious, try Black Forest Trifle. Layers of chocolate cake, cherries, whipped cream, and chocolate shavings make it a truly unforgettable treat.
Storage Instructions
While Molten Chocolate Lava Cakes are best enjoyed immediately, you can store the unbaked batter in the refrigerator for up to 24 hours. Simply cover the ramekins tightly with plastic wrap. When you’re ready to bake, remove them from the refrigerator and let them sit at room temperature for about 30 minutes before baking as directed. Note that the baking time may need to be adjusted slightly.
Baked lava cakes are best consumed immediately, but if you have leftovers, you can store them in an airtight container in the refrigerator for up to 2 days. Reheat them in the microwave for a few seconds before serving, but keep in mind that the molten center may not be as gooey as it was originally.
Final Thoughts: Enjoy the Chocolatey Journey
Making a Molten Chocolate Lava Cake is more than just following a recipe; it’s an experience. It’s about the joy of creating something delicious and sharing it with loved ones. Don’t be afraid to experiment, have fun, and most importantly, enjoy the chocolatey journey! With a little practice and patience, you’ll be whipping up perfect lava cakes in no time.
What is the most important factor in achieving the perfect molten center in a lava cake?
Precise baking time is crucial. Even a minute too long can turn your lava cake into a regular chocolate cake. Start checking at 12 minutes; the edges should be firm and the very center should still jiggle slightly.
What kind of chocolate is recommended for this recipe?
The recipe recommends using high-quality bittersweet chocolate with 60-70% cacao content. The better the chocolate, the better the lava cake.
Can I prepare the lava cake batter in advance?
Yes, you can store the unbaked batter in the refrigerator for up to 24 hours. Cover the ramekins tightly with plastic wrap and let them sit at room temperature for about 30 minutes before baking.
What are some variations I can try with this molten chocolate lava cake recipe?
You can infuse the melted butter with flavors like espresso or orange zest, try different types of chocolate (milk, dark, or white), add a filling like caramel or a raspberry, or make it gluten-free by substituting the flour.
Perfect Molten Chocolate Lava Cake
Ingredients
Equipment
Method
- Preheat your oven to 425°F (220°C).
- Generously grease and flour the ramekins. Tap out any excess flour. Line the bottom of the ramekins with a small circle of parchment paper for an extra layer of protection.
- In a double boiler or microwave-safe bowl, combine the chopped chocolate and butter. If using a double boiler, heat over simmering water, stirring occasionally, until melted and smooth. If using a microwave, heat in 30-second intervals, stirring in between, until melted and smooth. Be careful not to overheat the chocolate, as it can seize up.
- In a separate mixing bowl, whisk together the eggs, egg yolks, sugar, and salt until pale and slightly thickened, about 2-3 minutes. The mixture should ribbon slightly when you lift the whisk.
- Slowly pour the melted chocolate mixture into the egg mixture, whisking constantly until well combined. Be gentle to avoid deflating the eggs too much.
- Sprinkle the flour over the chocolate mixture and gently fold it in using a rubber spatula. Be careful not to overmix, as this can develop the gluten in the flour and result in a tough cake. Fold just until the flour disappears.
- Divide the batter evenly among the prepared ramekins. Each ramekin should be about ¾ full.
- Place the ramekins on a baking sheet and bake for 12-15 minutes. The baking time will vary depending on your oven, so keep a close eye on the cakes. They are ready when the edges are set and the center is still slightly soft. The top should look slightly cracked.
- Let the cakes cool in the ramekins for 1-2 minutes.
- Run a thin knife around the edges of the ramekins to loosen the cakes. Place a plate over the ramekin and carefully flip it over. Gently tap the ramekin to release the cake.
- Dust the cakes with powdered sugar, if desired. Serve immediately while the center is still molten. You can also add a scoop of vanilla ice cream, fresh berries, or a dollop of whipped cream for an extra touch of decadence.