I’ll never forget the year my little brother tried to “help” me bake these; he ended up covered head-to-toe in flour, but the look on his face when he saw the swirly Christmas Pinwheel Cookies was priceless. These cookies are more than just a treat; they’re a memory-making machine, and I promise, with a little guidance, you’ll have a batch of beautiful, delicious pinwheels that will impress everyone!
Let’s Bake Some Magic: Your Guide to Perfect Christmas Pinwheel Cookies
Hey there, friend! Baking Christmas cookies is one of my absolute favorite holiday traditions, and these pinwheel cookies hold a special place in my heart. They’re visually stunning, surprisingly easy to make, and oh-so-delicious. But let’s be honest, sometimes those perfectly swirled cookies you see online seem a little intimidating. Don’t worry! I’m here to break down every step, share my best tips and tricks, and help you create pinwheel cookies that will wow your family and friends.
Why These Christmas Pinwheel Cookies?
You might be wondering, “Why choose pinwheel cookies over all the other festive treats?” Well, here’s why:
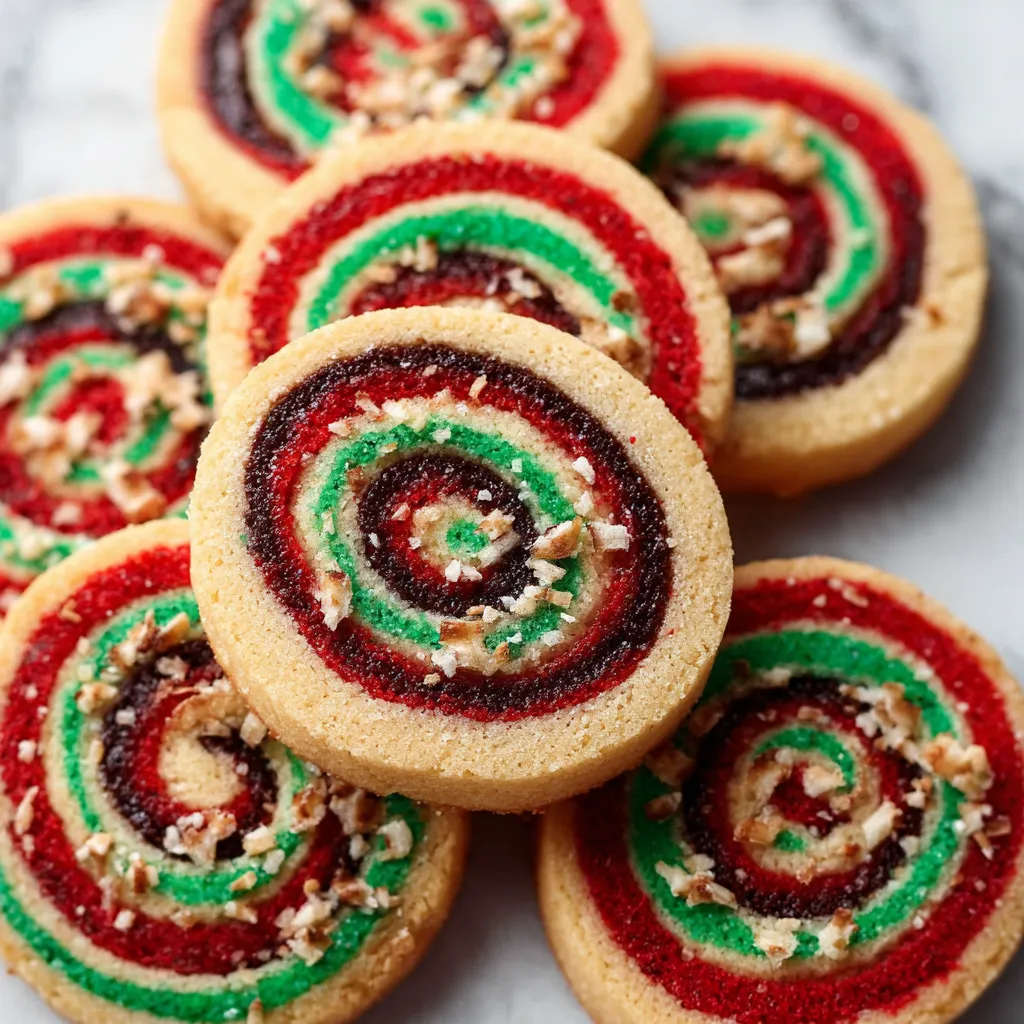
- They’re beautiful! The swirled design is eye-catching and adds a touch of elegance to any cookie platter.
- They’re relatively easy to make. Seriously! Once you get the hang of the rolling and slicing, it’s a breeze.
- They’re customizable. You can use different food colorings, extracts, and sprinkles to create unique flavor and color combinations.
- They’re perfect for gifting. Package them in a cute tin or cellophane bag, and you’ve got a thoughtful and delicious present.
- They’re just plain fun! Baking should be enjoyable, and these cookies are a blast to make, especially with kids.
Gather Your Ingredients: The Christmas Pinwheel Cookie Checklist

Before we get started, let’s make sure you have everything you need. Here’s a comprehensive list of ingredients for your Christmas Pinwheel Cookies:
- All-purpose flour: The foundation of our cookies.
- Baking powder: For a little lift and lightness.
- Salt: Enhances the flavors.
- Unsalted butter: Make sure it’s softened to room temperature for easy creaming.
- Granulated sugar: For sweetness, of course!
- Eggs: Help bind the dough together.
- Vanilla extract: Adds a classic flavor.
- Almond extract (optional): A little almond extract can elevate the flavor, but it’s totally optional.
- Food coloring (gel or liquid): Choose your favorite holiday colors! Red and green are classic, but feel free to get creative.
Ingredient Notes & Substitutions
Sometimes you need to make a substitution. That’s okay! Here are a few notes:
- Butter: If you only have salted butter, you can use it, but reduce the amount of salt in the recipe by 1/4 teaspoon.
- Extracts: Feel free to experiment with other extracts like peppermint, lemon, or orange.
- Food coloring: Gel food coloring is generally preferred because it’s more concentrated and won’t add extra liquid to the dough.
Step-by-Step Instructions: The Christmas Pinwheel Cookie Recipe
Alright, let’s get baking! Here’s a detailed, step-by-step guide to making perfect Christmas Pinwheel Cookies.
Step 1: Make the Dough
- In a medium bowl, whisk together the flour, baking powder, and salt. Set aside.
- In a large bowl, cream together the softened butter and sugar until light and fluffy. This usually takes about 3-5 minutes with an electric mixer.
- Beat in the eggs one at a time, then stir in the vanilla and almond extract (if using).
- Gradually add the dry ingredients to the wet ingredients, mixing until just combined. Be careful not to overmix!
- Divide the dough in half.
- In one half of the dough, add your chosen food coloring. Mix until the color is evenly distributed. Repeat with the other half of the dough, using a different color.
Step 2: Chill the Dough
This is a crucial step! Chilling the dough prevents it from spreading too much in the oven and makes it easier to roll out.
- Wrap each dough ball separately in plastic wrap.
- Flatten each dough ball into a disc shape. This will help them chill more evenly.
- Refrigerate for at least 2 hours, or preferably overnight.
Step 3: Roll Out the Dough
Now for the fun part! Rolling out the dough and creating those beautiful swirls.
- On a lightly floured surface, roll out one color of dough into a 12×9 inch rectangle. Aim for a thickness of about 1/8 inch.
- Repeat with the other color of dough.
- Carefully lift the first rectangle of dough and place it on top of the second rectangle. Try to align the edges as closely as possible.
Step 4: Create the Pinwheel
This is where the magic happens! Here’s how to create the pinwheel shape:
- Starting at one of the long edges, tightly roll up the dough into a log.
- Wrap the log tightly in plastic wrap and chill in the refrigerator for at least 30 minutes to firm up the log before slicing.
Step 5: Slice and Bake
Almost there! Now it’s time to slice and bake those gorgeous pinwheel cookies.
- Preheat your oven to 350°F (175°C).
- Line baking sheets with parchment paper.
- Using a sharp knife, slice the dough log into 1/4-inch thick rounds.
- Place the cookies on the prepared baking sheets, leaving about 1 inch of space between each cookie.
- Bake for 8-10 minutes, or until the edges are lightly golden brown.
- Let the cookies cool on the baking sheets for a few minutes before transferring them to a wire rack to cool completely.
Troubleshooting & Tips for Success
Sometimes things don’t go exactly as planned in the kitchen. Don’t worry! Here are some common issues and how to fix them.
- Dough is too sticky: Add a tablespoon of flour at a time until the dough is easier to handle.
- Dough is too dry: Add a teaspoon of milk or water at a time until the dough comes together.
- Cookies are spreading too much: Make sure your butter is not too soft. Also, chilling the dough is crucial. If they’re still spreading, try chilling the dough for longer.
- Cookies are browning too quickly: Lower the oven temperature by 25 degrees and bake for a few minutes longer.
- The pinwheel log is hard to slice: Make sure the log is firm but not frozen solid. If it’s too hard, let it sit at room temperature for a few minutes before slicing.
Pro Tips for Perfect Pinwheels
- Use a sharp knife: A sharp knife will ensure clean slices and prevent the dough from squishing.
- Don’t overbake: Overbaked cookies will be dry and hard.
- Experiment with flavors: Try adding different extracts or spices to the dough.
- Get creative with colors: Use different food colorings to create unique and festive designs.
- Sprinkles: Add sprinkles before baking for an extra touch of holiday cheer!
Variations & Creative Ideas
Want to put your own spin on these Christmas Pinwheel Cookies? Here are a few ideas to get you started.
- Peppermint Pinwheels: Add peppermint extract to the dough and crushed candy canes to the top of the cookies before baking.
- Chocolate Pinwheels: Add cocoa powder to one half of the dough for a chocolatey twist.
- Citrus Pinwheels: Add lemon or orange zest to the dough for a bright and refreshing flavor.
- Spice Pinwheels: Add cinnamon, nutmeg, and ginger to the dough for a warm and cozy flavor.
- Nutella Pinwheels: Spread a thin layer of Nutella between the two layers of dough before rolling up the log.
While you’re at it, you should check out these Chocolate Thumbprint Cookies, so chocolatey and delightful!
Storing Your Christmas Pinwheel Cookies
These cookies are best stored in an airtight container at room temperature. They will stay fresh for up to 5 days. You can also freeze them for up to 2 months. To freeze, place the cookies in a single layer on a baking sheet and freeze until solid. Then, transfer them to a freezer-safe bag or container.
And for another easy treat, you can never go wrong with Christmas Puppy Chow. It’s so addicting!
Serving Suggestions
Christmas Pinwheel Cookies are perfect for:
- Holiday parties
- Cookie exchanges
- Gifting
- Snacking
- Dessert after a festive meal
- Leaving out for Santa!
Other Christmas Cookie Ideas
If you are in the mood for more Christmas cookies, check out these other tasty options:
- Candy Cane Cookies are so festive and flavorful.
- Or try these Candy Cane Cookies for a minty, sweet treat.
- And a classic Sugar Cookie is always a good choice.
- If you want to get the kids involved, try these Soft Cut Out Sugar Cookies.
Christmas Pinwheel Cookies Recipe
Here’s the full recipe in an easy-to-read format:
Ingredients:
- 2 1/4 cups all-purpose flour
- 1 teaspoon baking powder
- 1/4 teaspoon salt
- 1 cup (2 sticks) unsalted butter, softened
- 3/4 cup granulated sugar
- 2 large eggs
- 1 teaspoon vanilla extract
- 1/2 teaspoon almond extract (optional)
- Food coloring (gel or liquid)
Instructions:
- In a medium bowl, whisk together the flour, baking powder, and salt. Set aside.
- In a large bowl, cream together the softened butter and sugar until light and fluffy.
- Beat in the eggs one at a time, then stir in the vanilla and almond extract (if using).
- Gradually add the dry ingredients to the wet ingredients, mixing until just combined.
- Divide the dough in half.
- In one half of the dough, add your chosen food coloring. Mix until the color is evenly distributed. Repeat with the other half of the dough, using a different color.
- Wrap each dough ball separately in plastic wrap.
- Flatten each dough ball into a disc shape.
- Refrigerate for at least 2 hours, or preferably overnight.
- On a lightly floured surface, roll out one color of dough into a 12×9 inch rectangle. Aim for a thickness of about 1/8 inch.
- Repeat with the other color of dough.
- Carefully lift the first rectangle of dough and place it on top of the second rectangle. Try to align the edges as closely as possible.
- Starting at one of the long edges, tightly roll up the dough into a log.
- Wrap the log tightly in plastic wrap and chill in the refrigerator for at least 30 minutes to firm up the log before slicing.
- Preheat your oven to 350°F (175°C).
- Line baking sheets with parchment paper.
- Using a sharp knife, slice the dough log into 1/4-inch thick rounds.
- Place the cookies on the prepared baking sheets, leaving about 1 inch of space between each cookie.
- Bake for 8-10 minutes, or until the edges are lightly golden brown.
- Let the cookies cool on the baking sheets for a few minutes before transferring them to a wire rack to cool completely.
Enjoy Your Christmas Pinwheel Cookies!
There you have it! Everything you need to create stunning and delicious Christmas Pinwheel Cookies. I hope you enjoy making them as much as I do. Happy baking!
Why is it important to chill the dough for Christmas Pinwheel Cookies?
Chilling the dough prevents it from spreading too much in the oven and makes it easier to roll out, ensuring the cookies hold their shape.
Can I use salted butter instead of unsalted butter?
Yes, you can use salted butter, but reduce the amount of salt in the recipe by 1/4 teaspoon.
How should I store Christmas Pinwheel Cookies to keep them fresh?
Store the cookies in an airtight container at room temperature for up to 5 days, or freeze them for up to 2 months in a freezer-safe bag or container.
What can I do if my cookie dough is too sticky to handle?
If the dough is too sticky, add a tablespoon of flour at a time until the dough is easier to handle.
Perfect Christmas Pinwheel Cookies
Ingredients
Equipment
Method
- In a medium bowl, whisk together the flour, baking powder, and salt. Set aside.
- In a large bowl, cream together the softened butter and sugar until light and fluffy.
- Beat in the eggs one at a time, then stir in the vanilla and almond extract (if using).
- Gradually add the dry ingredients to the wet ingredients, mixing until just combined.
- Divide the dough in half.
- In one half of the dough, add your chosen food coloring. Mix until the color is evenly distributed. Repeat with the other half of the dough, using a different color.
- Wrap each dough ball separately in plastic wrap.
- Flatten each dough ball into a disc shape.
- Refrigerate for at least 2 hours, or preferably overnight.
- On a lightly floured surface, roll out one color of dough into a 12×9 inch rectangle. Aim for a thickness of about 1/8 inch.
- Repeat with the other color of dough.
- Carefully lift the first rectangle of dough and place it on top of the second rectangle. Try to align the edges as closely as possible.
- Starting at one of the long edges, tightly roll up the dough into a log.
- Wrap the log tightly in plastic wrap and chill in the refrigerator for at least 30 minutes to firm up the log before slicing.
- Preheat your oven to 350°F (175°C).
- Line baking sheets with parchment paper.
- Using a sharp knife, slice the dough log into 1/4-inch thick rounds.
- Place the cookies on the prepared baking sheets, leaving about 1 inch of space between each cookie.
- Bake for 8-10 minutes, or until the edges are lightly golden brown.
- Let the cookies cool on the baking sheets for a few minutes before transferring them to a wire rack to cool completely.
